Upbit MCP Server
About
Access market data, manage accounts, and execute trades on the Upbit Cryptocurrency Exchange via its OpenAPI.
Details
- Author
- solangii
- GitHub stars
- 17
- Downloads
- 186
- Categories
- Communication, Other, Finance, API
Jump to
- Market data retrieval (ticker, orderbook, trades, candles)
- Account information (balance, order history)
- Order creation and cancellation
- Deposit and withdrawal functions
- Technical analysis tools

Setting up with Highlight
This MCP is not yet compatible with Highlight’s one-click setup. However, you can still use it with Highlight by following these steps:
- Download and install Highlight from highlightai.com/download
- Navigate to the plugins tab and select "Add Custom Plugin"
-
Configure the plugin with the settings below
Plugin Name
Upbit MCP ServerCommand (node, npx, python, etc.)Please refer to the README for specific instructions on how to obtain API keys or other required environment variables.
- Enable "Start Automatically" if you want the plugin to start when Highlight launches





From the repository
Install the server using uv sync after cloning the repository, then set up your Upbit API keys in a .env file. Integrate with Claude Desktop by adding the server configuration to the Claude config file (e.g., claude_desktop_config.json) using the Python interpreter from the virtual environment, or use the fastmcp install command. You can also run the server directly with uv run python main.py or in development mode with fastmcp dev main.py.
Claude Desktop / Cursor
Paste into your MCP client config file to install this server.
{
    "mcpServers": {
        "upbit mcp server": {
            "upbit-mcp-server": {
                "command": "uv",
                "args": [
                    "sync"
                ]
            }
        }
    }
}McpServers
{
    "upbit-mcp-server": {
        "command": "uv",
        "args": [
            "sync"
        ]
    }
}
Upbit MCP Server
A server implementation for Upbit Cryptocurrency Exchange OpenAPI using the Model Context Protocol (MCP). This project provides tools to interact with Upbit exchange services, such as retrieving market data (quotes, orderbooks, trade history, chart data), account information, creating and canceling orders, managing deposits/withdrawals, and performing technical analysis.
Features
- Market data retrieval (ticker, orderbook, trades, candle data)
- Account information (balance, order history)
- Order creation and cancellation
- Deposit and withdrawal functions
- Technical analysis tools
<details>
<summary><strong>수행가능한 기능 목록</strong></summary>
<br/>
<h4>시장 데이터 조회</h4>
<ul>
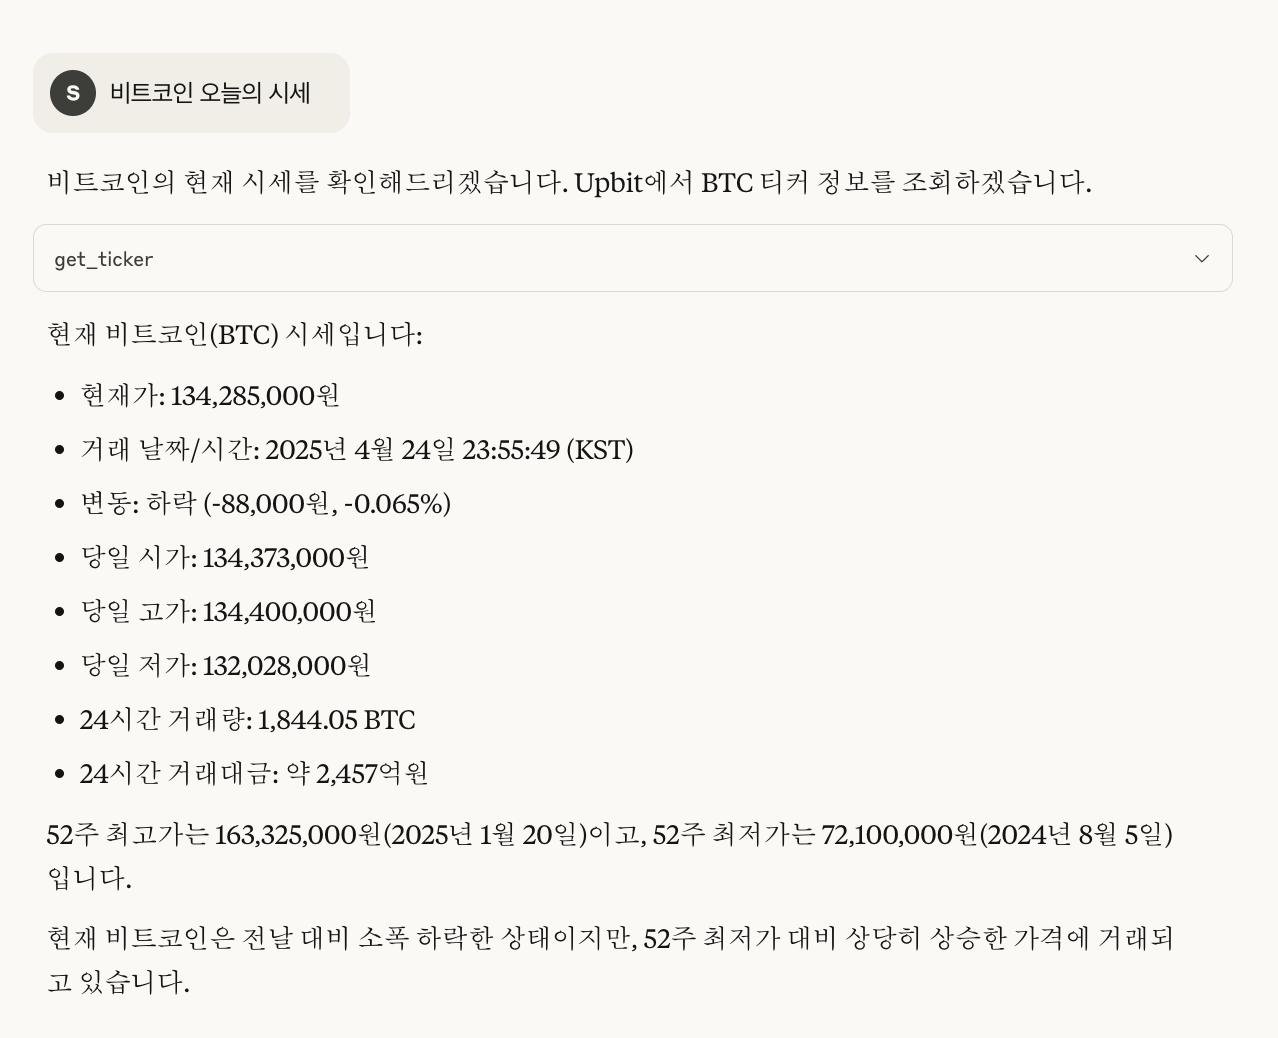
<li>현재 암호화폐 시세 조회 (<code>get_ticker</code>)</li>
<li>호가창 정보 조회 (<code>get_orderbook</code>)</li>
<li>최근 체결 내역 조회 (<code>get_trades</code>)</li>
<li>주요 암호화폐 시장 요약 정보 확인 (<code>get_market_summary</code>)</li>
</ul>
<h4>계정 정보 조회</h4>
<ul>
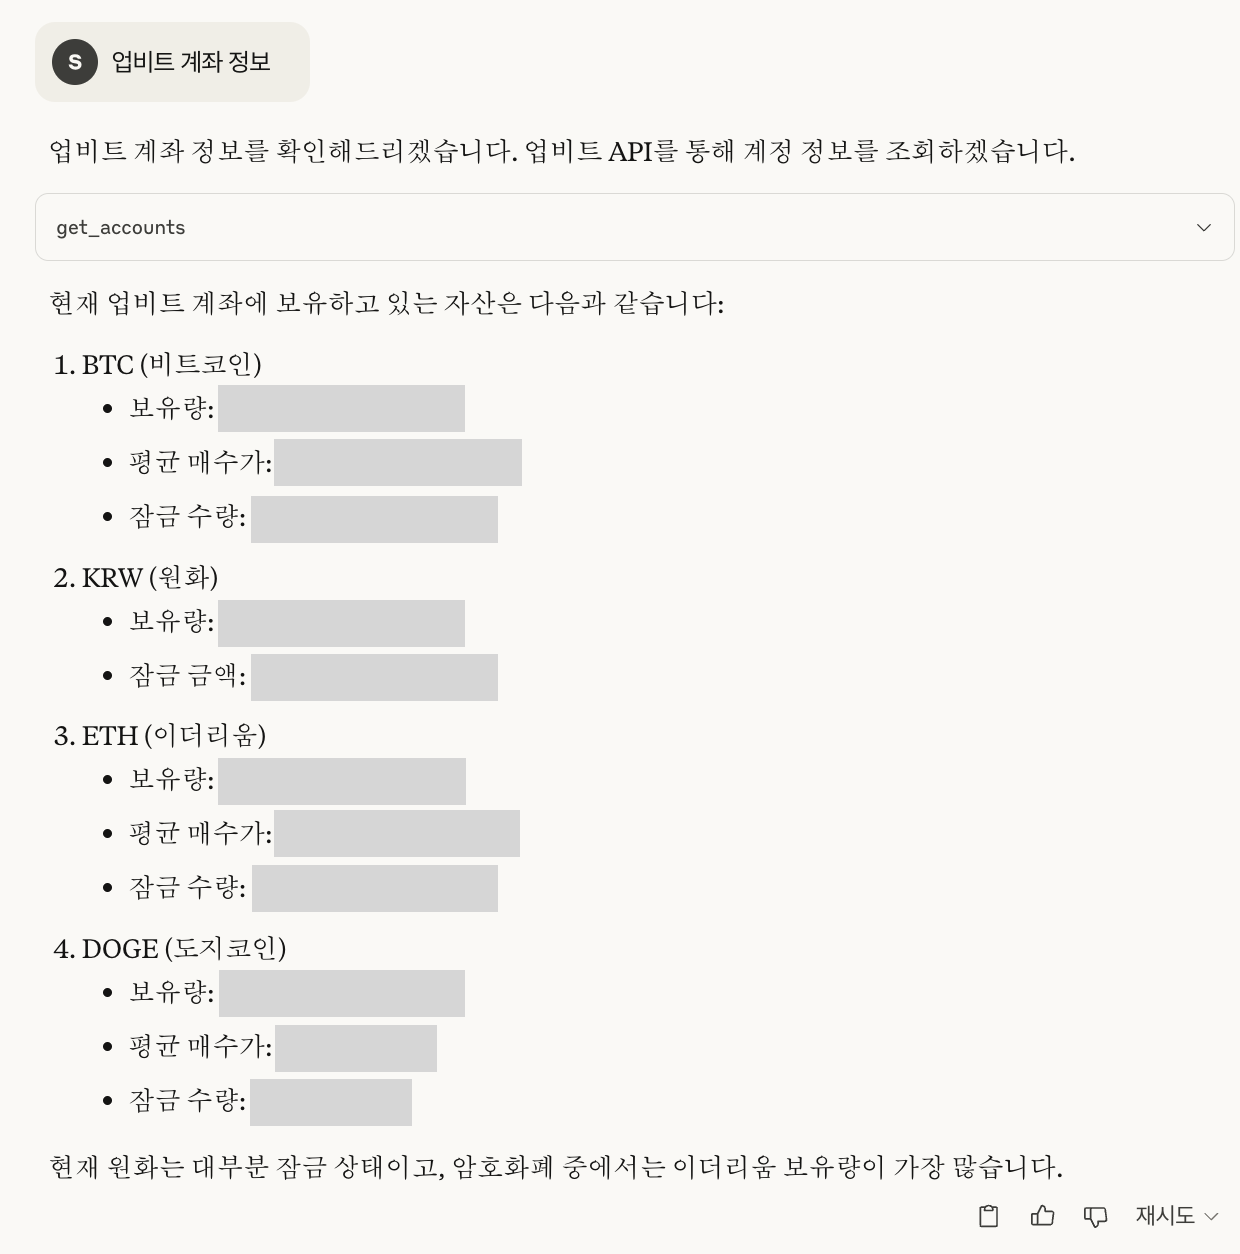
<li>보유 중인 자산 목록 및 잔고 확인 (<code>get_accounts</code>)</li>
<li>주문 내역 조회 (<code>get_orders</code>)</li>
<li>특정 주문 상세 정보 조회 (<code>get_order</code>)</li>
<li>입출금 내역 조회 (<code>get_deposits_withdrawals</code>)</li>
</ul>
<h4>거래 기능</h4>
<ul>
<li>지정가/시장가 매수 주문 생성 (<code>create_order</code>)</li>
<li>지정가/시장가 매도 주문 생성 (<code>create_order</code>)</li>
<li>주문 취소 (<code>cancel_order</code>)</li>
</ul>
</details>
<details>
<summary><strong>채팅 예시</strong></summary>
<br/>
<p>
아래는 실제 채팅 예시 이미지입니다.
</p>
</details>
Prerequisites
Before you begin, you need to get your Upbit API keys:
1. Create an account on Upbit if you don't already have one
2. Go to the Upbit Developer Center
3. Create a new API key
4. Make sure to set appropriate permissions (read, trade, withdraw as needed)
5. Store your API keys(UPBIT_ACCESS_KEY, UPBIT_SECRET_KEY) in the .env file (see Installation section)
Installation
1. Clone the repository:
   git clone https://github.com/solangii/upbit-mcp-server.git

   cd upbit-mcp-server
2. Install dependencies:
   cd upbit-mcp-server

   uv sync
If you don't have
uv installed yet, you can install it as follows:Using
uv provides faster installation and more reliable dependency resolution.
   # Install uv
   curl -Ls https://astral.sh/uv/install.sh | sh

    # Add uv to your PATH
   echo 'export PATH="$HOME/.local/bin:$PATH"' >> ~/.zshrc
   source ~/.zshrc  # or bashrc, depending on your shell
3. Set up environment variables:
Create a .env file in the project root and add your Upbit API keys:
   UPBIT_ACCESS_KEY=your_access_key_here

   UPBIT_SECRET_KEY=your_secret_key_here
Usage
Install in Claude Desktop
Option 1: Using Claude config file (Direct integration)
You can add the MCP server directly to Claude's configuration file:
1. Install Claude Desktop
2. Add the following to your Claude Desktop configuration:
- macOS: `~/Library/Application Support/Claude/claude_desktop_config.json
- Windows: %APPDATA%\Claude\claude_desktop_config.json
3. Add the following configuration (adjust paths as needed):
   {

     "mcpServers": {

       "upbit-mcp-server": {

         "command": "/full/path/to/upbit-mcp-server/.venv/bin/python",

         "args": [

           "/full/path/to/upbit-mcp-server/main.py"

         ]

       }

     }

   }
4. Restart Claude to load the new configuration.
Option 2: Using fastmcp
fastmcp install main.py --name "Upbit API"
Run Directly with Python
uv run python main.py
Development Mode (Web Interface)
fastmcp dev main.py
Caution
- This server can process real trades, so use it carefully.
- Keep your API keys secure and never commit them to public repositories.
License
MIT
Sign in to leave a review
Use Google, GitHub, or an email account so ratings stay tied to real people.
No reviews posted yet.