
Runbook MCP Server
About
Runbook MCP Server lets you execute runbooks—scripted operational procedures or manual test plans—directly from Claude Desktop. It converts markdown or text files into executable workflows that Claude can run using other MCP servers (e.g., GitHub, Slack, Kubernetes).
Details
- Author
- runbookai
- GitHub stars
- 3
- Downloads
- 283
- Categories
- Other
Jump to
- Executes ops runbooks (e.g., deploy a service, upgrade a Kubernetes cluster)
- Runs manual test plans (e.g., create EC2 instance, SSH, run integration tests)
- Supports markdown and plain text runbook formats
- Environment and variable substitution via {env[key]} and {var.name}
- Includes a create_runbook tool for programmatic runbook creation
- Integrates with popular MCP servers (GitHub, Slack, DesktopCommander, web/browser tools, Kubernetes)

Setting up with Highlight
This MCP is not yet compatible with Highlight’s one-click setup. However, you can still use it with Highlight by following these steps:
- Download and install Highlight from highlightai.com/download
- Navigate to the plugins tab and select "Add Custom Plugin"
-
Configure the plugin with the settings below
Plugin Name
Runbook MCP ServerCommand (node, npx, python, etc.)Please refer to the README for specific instructions on how to obtain API keys or other required environment variables.
- Enable "Start Automatically" if you want the plugin to start when Highlight launches





From the repository
1. Configure Claude Desktop’s claude_desktop_config.json with the uv command pointing to your runbook_server.py.
2. Create runbooks as .md or .txt files; optionally define environment variables in env.yaml and use {env[key]} or {var.name} substitution.
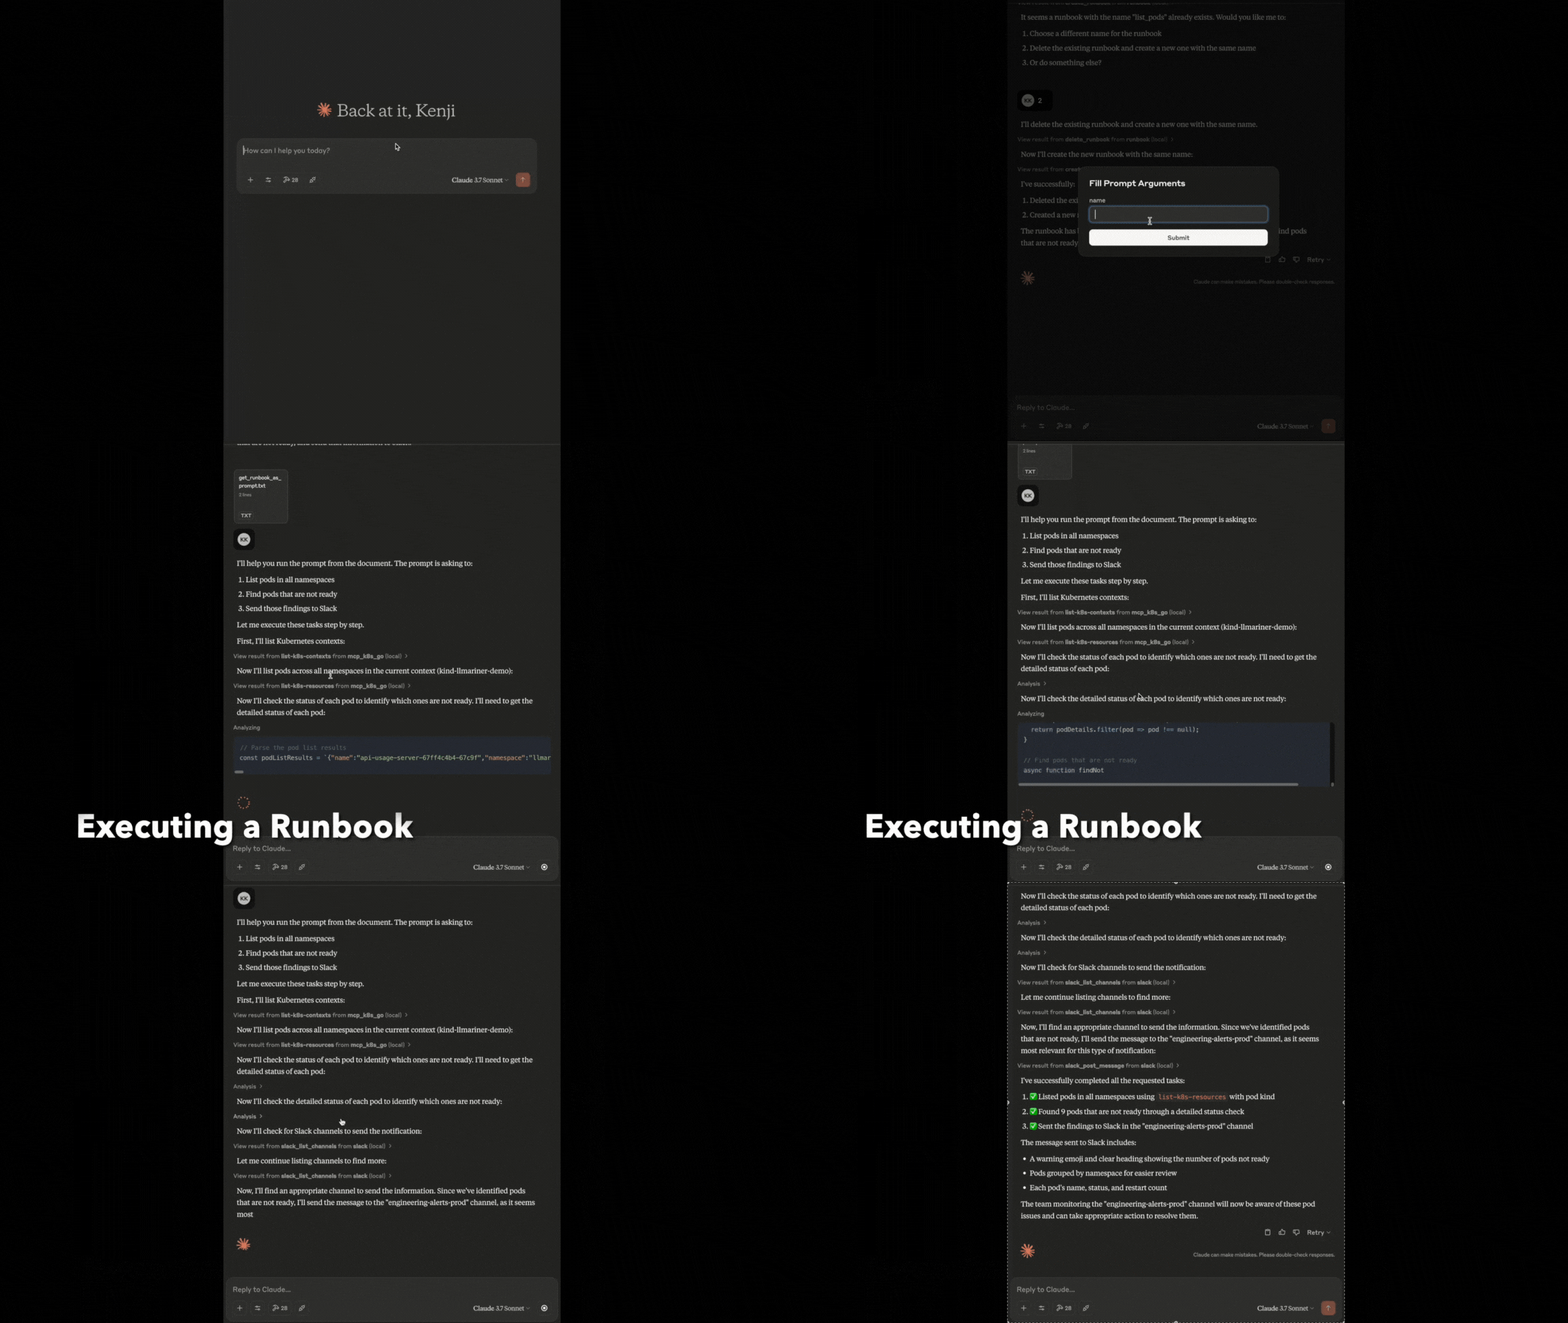
3. In Claude Desktop, click “Attach from MCP”, select get_runbook_as_prompt, enter the runbook name (and any variables), then submit the generated prompt. Claude will coordinate with other MCP servers to execute the steps.
runbook-search-articles
Search for articles using keywords from Runbook. The result does not include full article bodies as they are truncated to 200 characters. You will need to retrieve the full content by calling `runbook-get-article`
runbook-get-article
Retrieve the article by its ID or URL from the database.
runbook-list-articles
List top 100 articles in a specified book with ID. The result does not include full article bodies as they are truncated to 200 characters. You will need to retrieve the full content by calling `runbook-get-article`.
runbook-create-article
Create a new article in a specified book with ID. The article body is in Markdown format. The article will be created in the root folder of the book. You can specify categories for the article by their IDs, which always start with 'ca_' You can retrieve a list of books with `runbook-list-books` and categories with `runbook-list-categories`. Markdown format supports: - Headers: ## H2, ### H3, #### H4. Don't use # H1 as it is reserved for the article title. - Bold: **bold text** - Italic: _italic text_ - Lists: - item or 1. numbered item - Links: [text](url) - Code blocks: ```\ncode\n``` - Tables: | col1 | col2 |\n| --- | --- |\n| data | data | - Blockquotes: > quoted text - Callouts: :::callout info\ntext\n::: or :::callout warning\ntext\n::: - Diagrams: ```mermaid\ngraph TD;\n```
runbook-update-article
Update an existing article by its ID. The article body is in Markdown format. You can specify categories for the article by their IDs, which always start with 'ca_'. Markdown format supports: - Headers: ## H2, ### H3, #### H4. Don't use # H1 as it is reserved for the article title. - Bold: **bold text** - Italic: _italic text_ - Lists: - item or 1. numbered item - Links: [text](url) - Code blocks: ```\ncode\n``` - Tables: | col1 | col2 |\n| --- | --- |\n| data | data | - Blockquotes: > quoted text - Callouts: :::callout info\ntext\n::: or :::callout warning\ntext\n::: - Diagrams: ```mermaid\ngraph TD;\n```
runbook-list-books
List top 100 books in the organization
runbook-list-categories
List top 100 categories in a specified book with ID
runbook-get-folder
Retrieve a folder in a book with its ancestors and children (subfolders and articles). If `folderUid` is not provided, the root folder of the book will be retrieved. The articles in the result include only a name and UID. To get the full article body, call `runbook-get-article`.
runbook-list-assigned-processes
Get a list of processes assigned to the current user
runbook-get-process
Get current process information by book UID
runbook-run-process
This tool is used to start a new process or continue an existing one. If the run state UID is not provided, a new process will be created. Before executing run-process, you must call get-process and follow its instructions.
runbook-upload-run-state-file
Get a presigned URL to upload an attachment file for a running process. This tool does NOT upload the file itself. It returns an `upload_url` that you must use to upload the file contents via HTTP PUT (e.g., `curl -X PUT --upload-file <path> "<upload_url>"` or `fetch(upload_url, { method: 'PUT', body: <content> })`). Set the `Content-Type` header to match the `content_type` if provided. After uploading, pass the returned `uid` to run-process propertyValues as an array of UIDs. # Example: ## article body :::input file { uid="1:mgkxg1t4jq1sehs47s40xs70wr" required=true readOnly=false } Attachment files <input type="file" name="1:mgkxg1t4jq1sehs47s40xs70wr" /> ::: ## property values { "1:mgkxg1t4jq1sehs47s40xs70wr" : ["<FILE_UID>"] }
Claude Desktop / Cursor
Paste into your MCP client config file to install this server.
{
    "mcpServers": {
        "runbook mcp server": {
            "runbook": {
                "command": "uv",
                "args": [
                    "--directory",
                    "<ABSOLUTE_PATH>/runbook-mcp-server",
                    "run",
                    "runbook_server.py"
                ]
            }
        }
    }
}McpServers
{
    "runbook": {
        "command": "uv",
        "args": [
            "--directory",
            "<ABSOLUTE_PATH>/runbook-mcp-server",
            "run",
            "runbook_server.py"
        ]
    }
}
Runbook MCP Server
Runbook MCP Server enables you to run your own runbooks from Claude Desktop.
- Run ops runbooks (e.g., deploy a service, upgrade a Kubernetes cluster)
- Run manual test plans (e.g., create a new EC2 instance, ssh into the instance, and run the integration test there).
Please watch the demo video below to understand how it works!
Sign in to leave a review
Use Google, GitHub, or an email account so ratings stay tied to real people.
No reviews posted yet.





