PhoneMcp - Android Phone Control via ADB
About
Control your Android phone via ADB using AI assistants. Supports both zero-config Skill mode (CatPaw/Claude Code) and standard MCP server mode (Claude Desktop/Cursor). Features: screen capture, tap/swipe gestures, text input, app management, file transfer, shell commands, and mor
Details
- Author
- kengerlwl
- Downloads
- 585
- Categories
- Developer Tools, Automation
Jump to
- Screenshot capture of the phone screen
- Touch operations: tap, double‑tap, swipe
- Text input with full Chinese support
- System key press (back, home, volume, power)
- App launch, search, and current app retrieval
- UI element recognition for precise tapping by index/text
- OCR mode for WebView, games, and Flutter apps
- Multi‑device support via USB and WiFi

Setting up with Highlight
This MCP is not yet compatible with Highlight’s one-click setup. However, you can still use it with Highlight by following these steps:
- Download and install Highlight from highlightai.com/download
- Navigate to the plugins tab and select "Add Custom Plugin"
-
Configure the plugin with the settings below
Plugin Name
PhoneMcp - Android Phone Control via ADBCommand (node, npx, python, etc.)Please refer to the README for specific instructions on how to obtain API keys or other required environment variables.
- Enable "Start Automatically" if you want the plugin to start when Highlight launches





From the repository
Enable USB debugging on the Android phone and connect it via USB or WiFi. For Skill mode, download the Skill archive from Releases and unzip it into the AI client’s Skill directory (e.g., ~/.catpaw/skills/phone-mcp/). For MCP mode, download the standalone executable and start the server with ./phone-mcp serve, then configure the MCP client with the SSE or STDIO transport. The tool automatically detects connected devices.
Claude Desktop / Cursor
Paste into your MCP client config file to install this server.
{
    "mcpServers": {
        "phonemcp - android phone control via adb": {
            "phoneMcp": {
                "command": "python",
                "args": [
                    "main.py",
                    "serve"
                ]
            }
        }
    }
}McpServers
{
    "phoneMcp": {
        "command": "python",
        "args": [
            "main.py",
            "serve"
        ]
    }
}
📱 PhoneMCP — Let AI Control Your Phone
<p align="center">
<strong>让 AI 助手直接操控你的 Android 手机 —— 支持 Skill 和 MCP 两种接入方式</strong>
</p>
<p align="center">
<a href="https://github.com/kengerlwl/phoneMcp/releases">
<a href="https://github.com/kengerlwl/phoneMcp/blob/main/LICENSE">
<a href="https://github.com/kengerlwl/phoneMcp/stargazers">
<a href="https://python.org">
</p>
<p align="center">
<a href="https://www.bilibili.com/video/BV1vgcizLEaw/">📺 完整演示视频</a> ·
<a href="https://b23.tv/tIW7mVP">🎬 快速上手教程</a>
</p>
---
🎬 演示
> 用自然语言让 AI 帮你操作手机 —— 打开 App、发消息、搜索商品,一句话搞定。
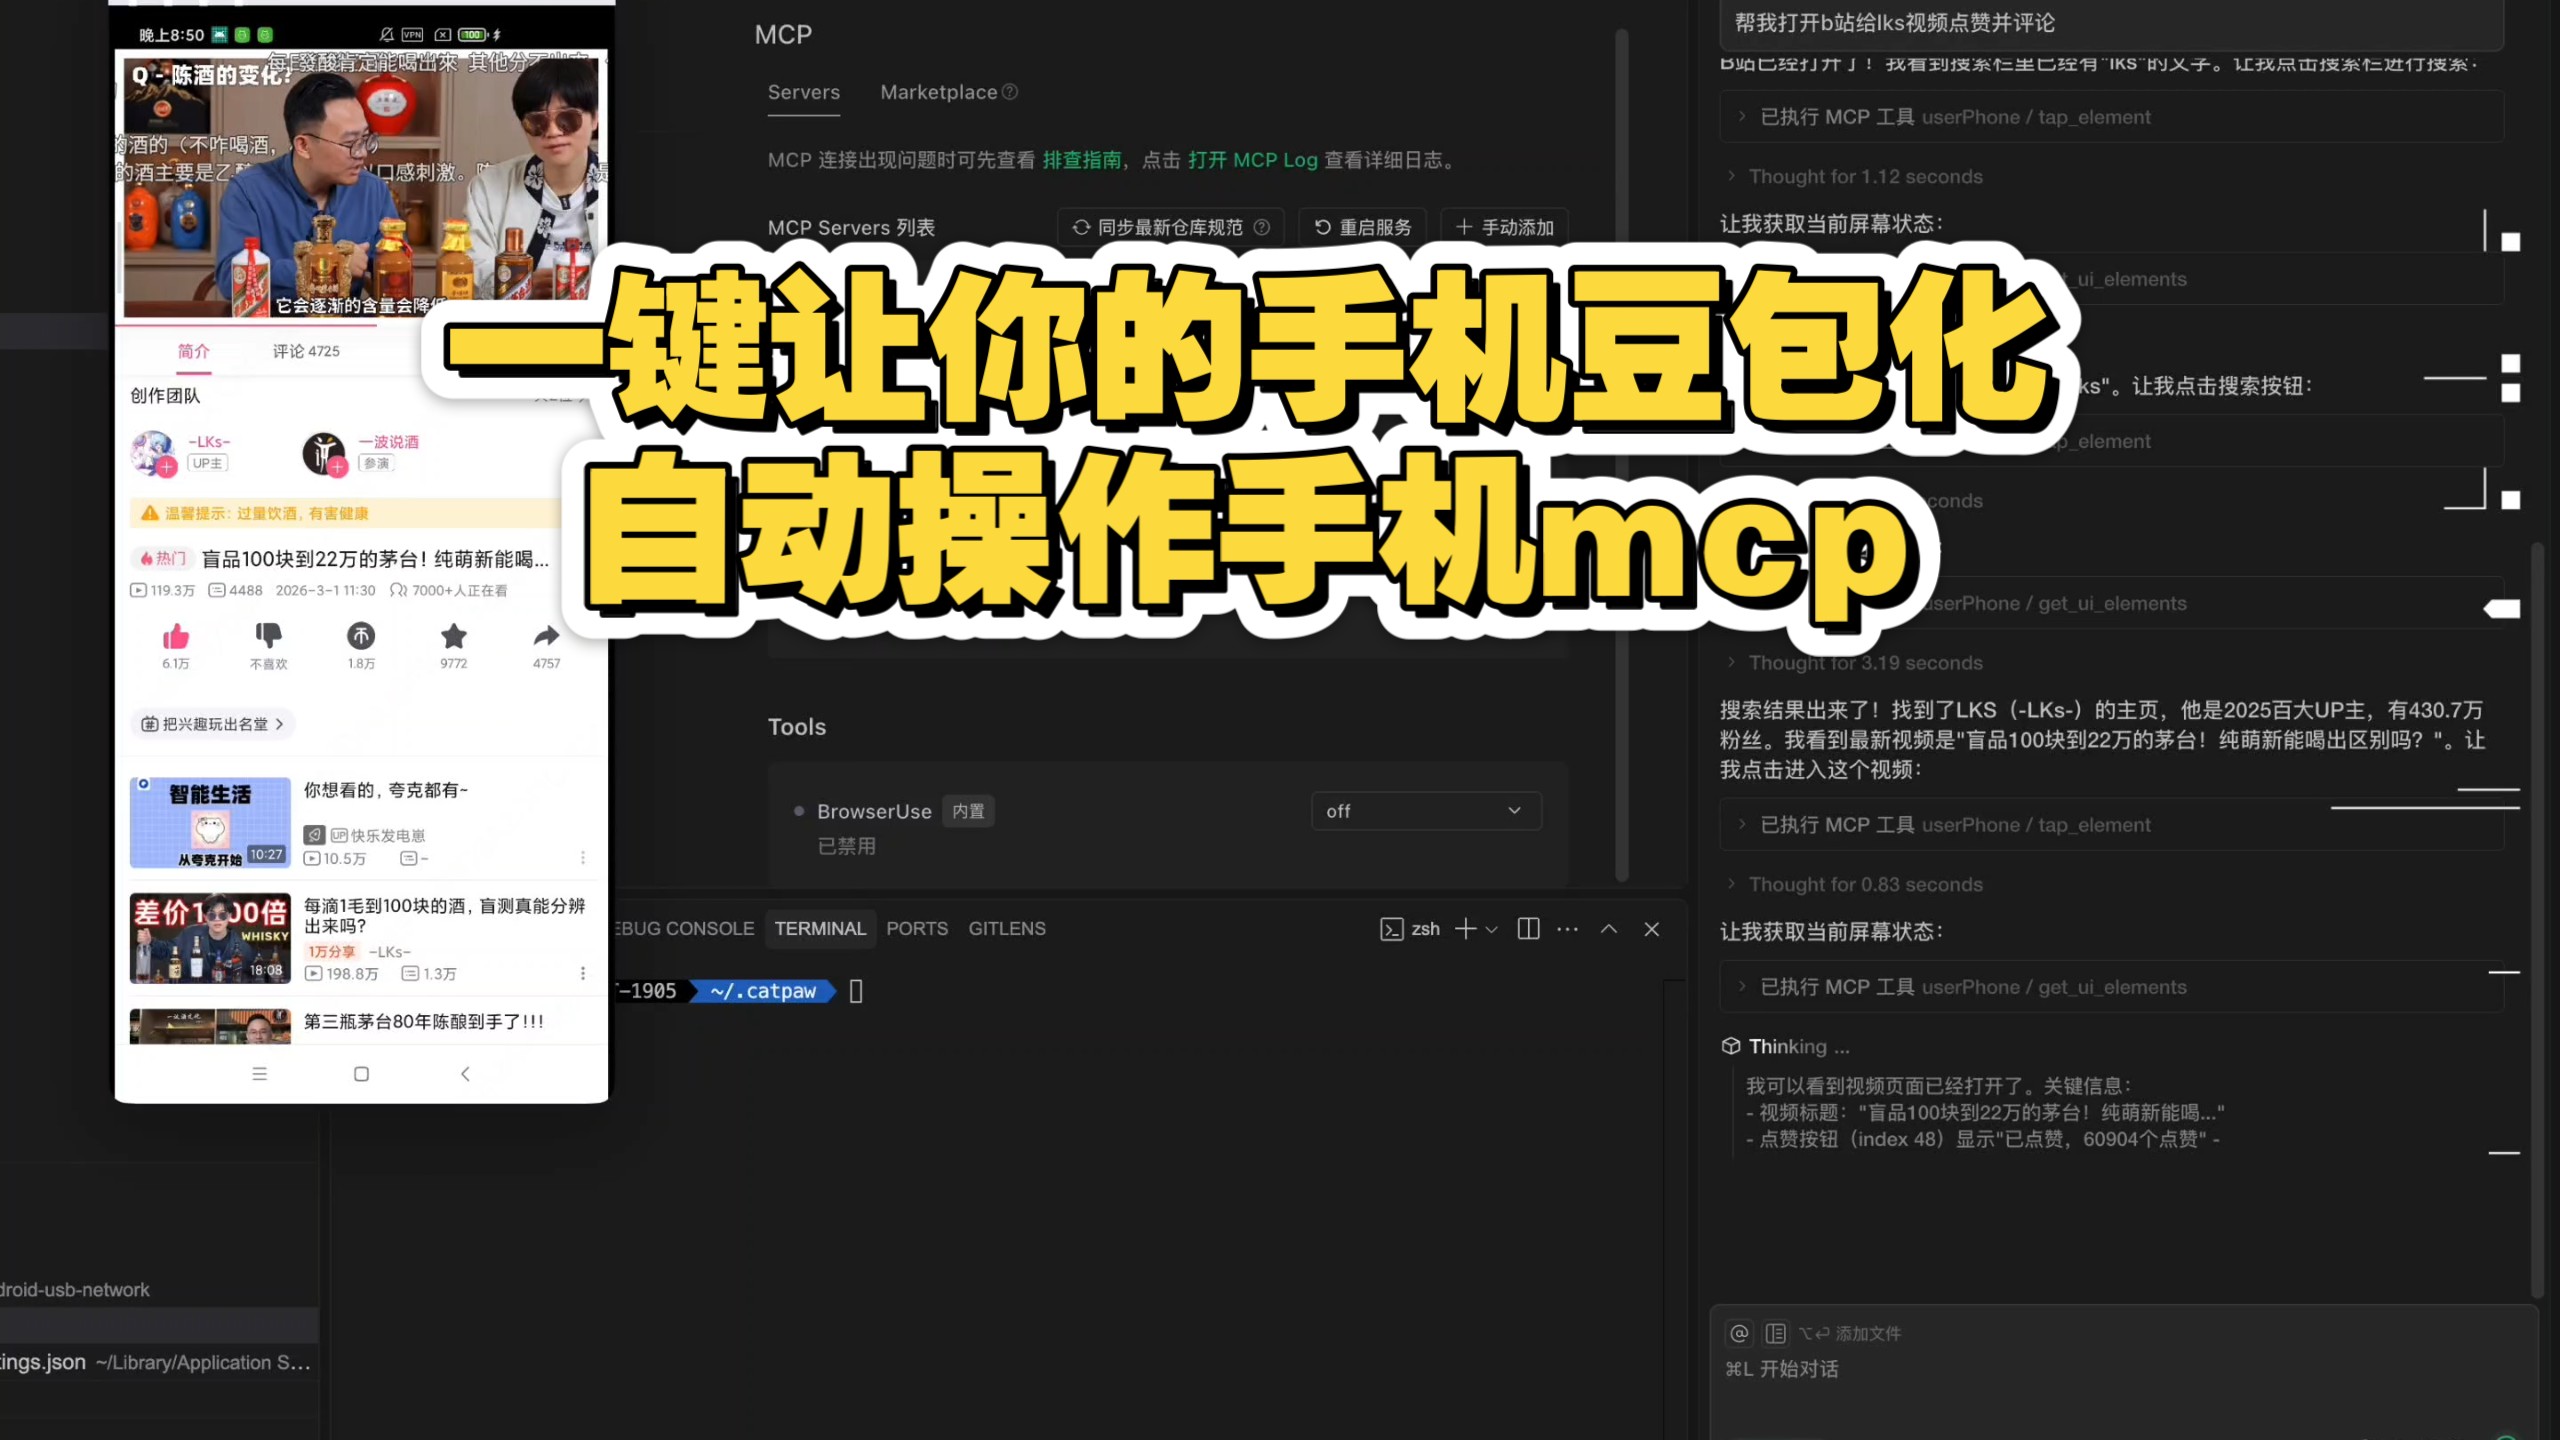
▶️ 点击观看完整演示视频 | 31 秒快速上手
---
💡 这是什么?
PhoneMCP 是一个 AI 手机操控工具,通过 ADB 让 AI 助手能够直接看到你的手机屏幕、点击按钮、输入文字、打开 App —— 就像一个真正的助手在帮你操作手机。
提供两种接入方式,适配不同的 AI 客户端生态:
| 方式 | 适合场景 | 是否需要配置 |
|------|---------|-------------|
| ⭐ Skill 模式(推荐) | CatPaw、Claude Code 等支持 Skill 的客户端 | 零配置,下载解压即用 |
| MCP 模式 | Claude Desktop、Cursor 等 MCP 客户端 | 需要配置 MCP 服务器地址 |
🏗️ 工作原理
┌─────────────────────────────────────────────────────────┐
│                      你的电脑                            │
│                                                         │
│  ┌──────────────┐              ┌──────────────────┐    │
│  │  AI 助手      │  Skill/CLI  │   PhoneMCP       │    │
│  │              │ ──────────► │                  │    │
│  │ · CatPaw    │   或 MCP     │  截图 / 点击      │    │
│  │ · Claude    │              │  输入 / 滑动      │    │
│  │ · Cursor    │              │  启动App / ...    │    │
│  │ · ...       │              │                  │    │
│  └──────────────┘              └────────┬─────────┘    │
│                                         │ ADB          │
└─────────────────────────────────────────┼───────────────┘
                                          │
                                   USB / WiFi
                                          │
                                ┌─────────▼─────────┐
                                │   Android 手机     │
                                │                   │
                                │  📱 屏幕截图       │
                                │  👆 触控操作       │
                                │  ⌨️ 文本输入       │
                                │  📦 应用管理       │
                                └───────────────────┘
✨ 功能特性
- 📸 截图 — 获取手机实时屏幕截图
- 👆 触控 — 点击、双击、滑动
- ⌨️ 输入 — 输入文本(完美支持中文),清除文本
- 🏠 按键 — 返回、主页、音量、电源等系统按键
- 📱 应用 — 启动应用、搜索已安装应用、获取当前应用
- 🎯 UI 元素识别 — 智能获取屏幕 UI 元素列表,通过索引/文本精准点击(推荐)
- 🔍 OCR 模式 — 针对 WebView / 游戏 / Flutter 等场景,支持 OCR 文字识别
- 📡 多设备 — 支持 USB 和 WiFi 连接,可同时管理多台设备
🚀 快速开始
前置要求
1. Android 手机通过 USB 连接电脑(或通过 WiFi 连接)
2. 手机开启 USB 调试(见下方教程)
> 💡 使用可执行文件时无需安装 ADB,已内嵌。
<details>
<summary>📱 <strong>手机端开启 USB 调试教程(点击展开)</strong></summary>
第一步:开启开发者选项
1. 打开手机 设置
2. 进入 关于手机(部分手机在「设置 > 系统 > 关于手机」)
3. 连续点击 版本号 7 次,直到出现「您已进入开发者模式」的提示
> 💡 不同品牌的路径可能略有差异:
> - 小米/红米:设置 → 我的设备 → 全部参数与信息 → 连续点击「MIUI 版本」
> - 华为/荣耀:设置 → 关于手机 → 连续点击「版本号」
> - OPPO/realme:设置 → 关于手机 → 连续点击「版本号」
> - vivo/iQOO:设置 → 关于手机 → 连续点击「软件版本号」
> - 三星:设置 → 关于手机 → 软件信息 → 连续点击「编译编号」
> - 一加:设置 → 关于本机 → 连续点击「版本号」
第二步:开启 USB 调试
1. 返回 设置 主页
2. 进入 系统 → 开发者选项(部分手机直接在设置列表底部)
3. 打开 USB 调试 开关
4. 如果有 USB 安装 和 USB 调试(安全设置),也一并打开
第三步:连接电脑并授权
1. 用 USB 数据线连接手机和电脑
2. 手机上会弹出「允许 USB 调试吗?」的对话框
3. 勾选「始终允许使用这台计算机进行调试」
4. 点击 确定/允许
> ⚠️ 注意事项:
> - 请使用支持数据传输的 USB 线(非纯充电线)
> - 如果没有弹出授权对话框,尝试拔插 USB 或在终端运行 adb devices 触发
> - 部分手机需要在 USB 连接方式中选择「文件传输 (MTP)」模式
</details>
---
⭐ 方式一:Skill 模式(推荐,零配置)
最简单的方式:下载 Skill 压缩包,解压到 AI 客户端的 Skill 目录,即刻可用。
1. 下载
从 Releases 页面 下载对应平台的 Skill 压缩包:
| 平台 | 下载文件 |
|------|---------|
| 🍎 macOS (Apple Silicon) | phone-mcp-skill-macos-arm64.zip |
| 🐧 Linux | phone-mcp-skill-linux-amd64.zip |
| 🪟 Windows | phone-mcp-skill-windows-amd64.zip |
2. 解压到 Skill 目录
```bash
Sign in to leave a review
Use Google, GitHub, or an email account so ratings stay tied to real people.
No reviews posted yet.