Notify Mcp
About
A lightweight Bash-based Model Context Protocol (MCP) server for sending desktop notifications via notify-send. This zero-dependency server enables AI assistants like Claude, Cursor, and VS Code to send system notifications directly to your Linux desktop.
Details
- Author
- longdog
- Downloads
- 279
- Categories
- Communication, Other, Developer Tools
Jump to
- Zero‑dependency Bash MCP server (requires only notify-send and jq)
- Sends Linux desktop and macOS notifications from AI assistants
- Works with Claude Desktop, Cursor, VS Code, and Gemini CLI
- Simple stdio‑based transport for direct interaction
- Lightweight, single‑script implementation

Setting up with Highlight
This MCP is not yet compatible with Highlight’s one-click setup. However, you can still use it with Highlight by following these steps:
- Download and install Highlight from highlightai.com/download
- Navigate to the plugins tab and select "Add Custom Plugin"
-
Configure the plugin with the settings below
Plugin Name
Notify McpCommand (node, npx, python, etc.)Please refer to the README for specific instructions on how to obtain API keys or other required environment variables.
- Enable "Start Automatically" if you want the plugin to start when Highlight launches





From the repository
Clone the repository, make the script executable, and optionally add it to your PATH. Configure the server in your AI assistant’s MCP settings (Claude Desktop, Cursor, VS Code, or Gemini CLI) by specifying the absolute path to notify-mcp.sh as a command‑type stdio server. For testing, you can pipe JSON‑RPC requests directly to the script.
Claude Desktop / Cursor
Paste into your MCP client config file to install this server.
{
    "mcpServers": {
        "notify mcp": {
            "notify": {
                "command": "/home/username/notify-mcp/notify-mcp.sh",
                "args": []
            }
        }
    }
}McpServers
{
    "notify": {
        "command": "/home/username/notify-mcp/notify-mcp.sh",
        "args": []
    }
}
notify-mcp
A lightweight Bash-based Model Context Protocol (MCP) server for sending desktop notifications via notify-send. This zero-dependency server enables AI assistants like Claude, Cursor, and VS Code to send system notifications directly to your Linux desktop and MacOS.
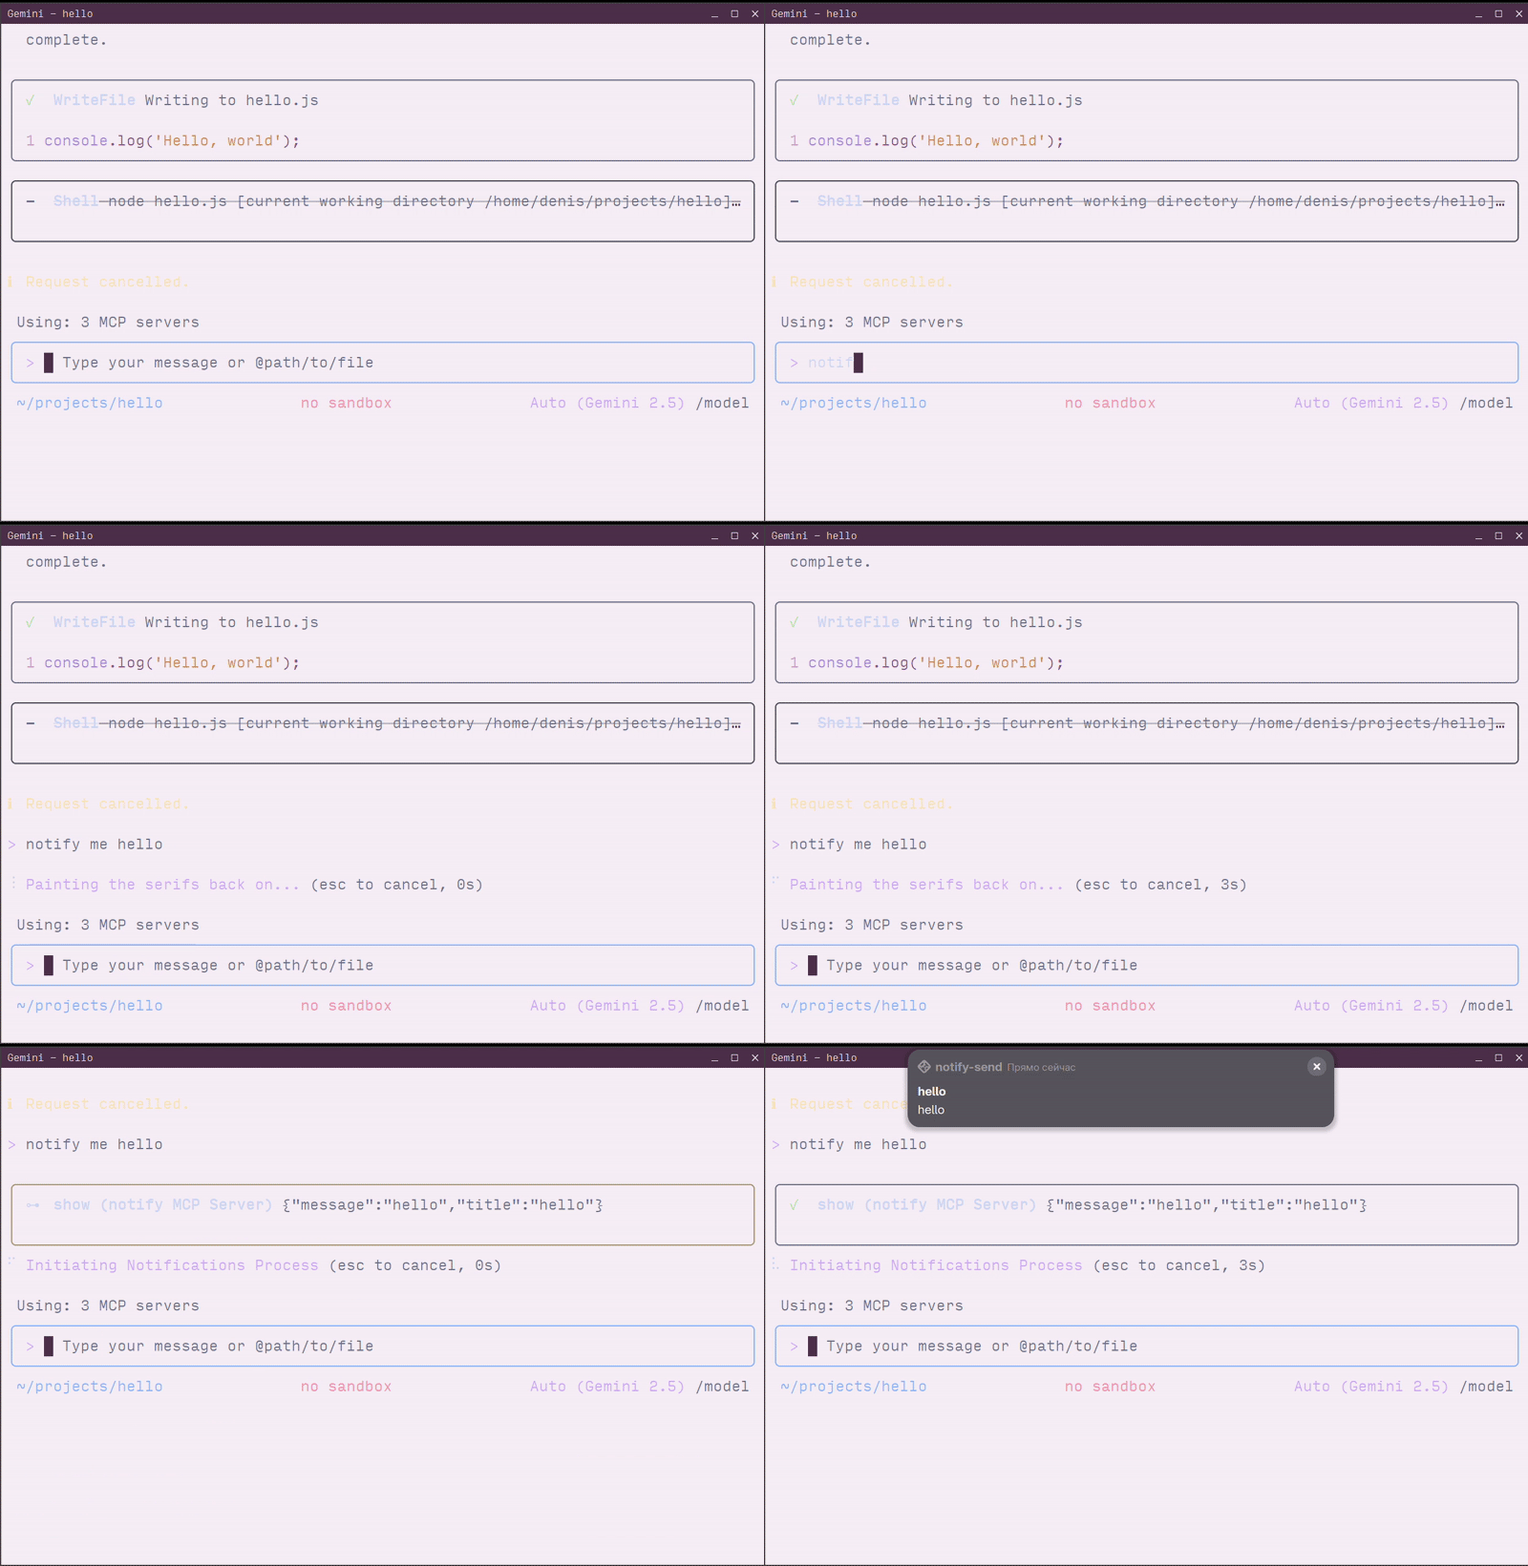
Prerequisites
- Linux system with notification support or MacOS
- notify-send command for linux (usually provided by libnotify package)
- jq tool
Installing notify-send
If notify-send is not installed on your system:
Ubuntu/Debian:
sudo apt-get install libnotify-bin
Fedora/RHEL:
sudo dnf install libnotify
Arch Linux:
sudo pacman -S libnotify
Alt Linux:
sudo apt-get install notify-send
Installation
1. Clone the repository:
git clone https://github.com/longdog/notify-mcp.git
cd notify-mcp
2. Make the script executable:
chmod +x notify-mcp.sh
3. (Optional) Add to your PATH for easier access:
sudo ln -s $(pwd)/notify-mcp.sh /usr/local/bin/notify-mcp
Configuration
Claude Desktop
Claude Desktop uses a JSON configuration file to define MCP servers.
1. Open Claude Desktop settings:
- Click Claude menu → Settings → Developer tab
- Click Edit Config to open claude_desktop_config.json
2. Add the notify-mcp server configuration:
{
  "mcpServers": {
    "notify": {
      "command": "/absolute/path/to/notify-mcp.sh",
      "args": []
    }
  }
}
Example with full path:
{
  "mcpServers": {
    "notify": {
      "command": "/home/username/notify-mcp/notify-mcp.sh",
      "args": []
    }
  }
}
3. Save the file and restart Claude Desktop
4. Verify the connection by looking for the MCP server indicator (🔌 icon) in the Claude Desktop interface
Cursor
Cursor IDE supports MCP servers through its settings configuration.
1. Open Cursor settings:
- Press Ctrl+Shift+P (Linux/Windows) or Cmd+Shift+P (macOS)
- Search for "MCP: Add MCP Server"
- Select Command (stdio)
2. Configure the server:
- Name: notify
- Command: /absolute/path/to/notify-mcp.sh
- Arguments: (leave empty)
Alternative: Manual configuration
Edit your Cursor settings file (.cursor/mcp.json in your workspace):
{
  "mcpServers": {
    "notify": {
      "command": "/home/username/notify-mcp/notify-mcp.sh",
      "args": []
    }
  }
}
3. Restart Cursor to apply changes
VS Code
VS Code supports MCP servers through the GitHub Copilot extension.
1. Via Command Palette:
- Press Ctrl+Shift+P (Linux/Windows) or Cmd+Shift+P (macOS)
- Run "MCP: Add Server"
- Select Command (stdio)
- Enter the server information:
- Name: notify
- Command: /absolute/path/to/notify-mcp.sh
2. Via Configuration File:
Add to your user settings (.vscode/mcp.json) or workspace settings:
{
  "servers": {
    "notify": {
      "command": "/home/username/notify-mcp/notify-mcp.sh",
      "args": []
    }
  }
}
3. Restart VS Code to load the MCP server
4. Verify by running "MCP: List Servers" from the Command Palette
Gemini CLI
The Gemini CLI supports MCP servers through its settings configuration file.
1. Locate your Gemini CLI settings file:
~/.gemini/settings.json
2. Add the notify-mcp server to the mcpServers section:
{
  "mcpServers": {
    "notify": {
      "command": "/home/username/notify-mcp/notify-mcp.sh",
      "args": []
    }
  }
}
Complete example:
{
  "apiKey": "your-api-key",
  "mcpServers": {
    "notify": {
      "command": "/home/username/notify-mcp/notify-mcp.sh",
      "args": []
    }
  },
  "mcp": {
    "allowed": ["notify"]
  }
}
3. Restart Gemini CLI or start a new session:
gemini-cli
4. Verify the server is loaded:
/mcp
This will list all connected MCP servers, including notify.
Alternative: Using STDIO Transport Directly
For testing or advanced use cases, you can interact with the MCP server directly via stdio:
echo '{"jsonrpc":"2.0","id":"2","method":"tools/call","params": {"arguments":{"title":"Hello","message":"World"}}}' | ./notify-mcp.sh
Sign in to leave a review
Use Google, GitHub, or an email account so ratings stay tied to real people.
No reviews posted yet.