
How to build an MCP server - Calculator Example
About
Example project showing how to build a simple MCP Server (and having it on Smithery!)
Details
- Author
- simonberner
- Downloads
- 184
- Categories
- Developer Tools
Jump to
- Provides basic math operations: add, subtract, multiply, divide.
- Built with Python 3 and the MCP SDK.
- Supports installation via Smithery, Nix, or uv.
- Testable via MCP Inspector web interface.
- Includes unit tests with pytest.

Setting up with Highlight
This MCP is not yet compatible with Highlight’s one-click setup. However, you can still use it with Highlight by following these steps:
- Download and install Highlight from highlightai.com/download
- Navigate to the plugins tab and select "Add Custom Plugin"
-
Configure the plugin with the settings below
Plugin Name
How to build an MCP server - Calculator ExampleCommand (node, npx, python, etc.)Please refer to the README for specific instructions on how to obtain API keys or other required environment variables.
- Enable "Start Automatically" if you want the plugin to start when Highlight launches





From the repository
Install automatically via Smithery (npx -y @smithery/cli install @simonberner/mcp-server-calculator --client claude), or set up the development environment using Nix/direnv or manually with uv. Run locally with mcp dev src/mcp_server_calculator/calculator.py and test using MCP Inspector. Integrate with an MCP host by adding the server configuration to the host's mcp config file (e.g., for Claude Desktop).
Claude Desktop / Cursor
Paste into your MCP client config file to install this server.
{
    "mcpServers": {
        "how to build an mcp server - calculator example": {
            "mcp-server-calculator-simonberner": {
                "command": "npx",
                "args": [
                    "-y",
                    "@smithery/cli",
                    "install",
                    "@simonberner/mcp-server-calculator",
                    "--client",
                    "claude"
                ]
            }
        }
    }
}McpServers
{
    "mcp-server-calculator-simonberner": {
        "command": "npx",
        "args": [
            "-y",
            "@smithery/cli",
            "install",
            "@simonberner/mcp-server-calculator",
            "--client",
            "claude"
        ]
    }
}
How to build an MCP server - Calculator Example

About
This is a very simple example of how to build an MCP server that provides basic math operations to an MCP client.
What is MCP?
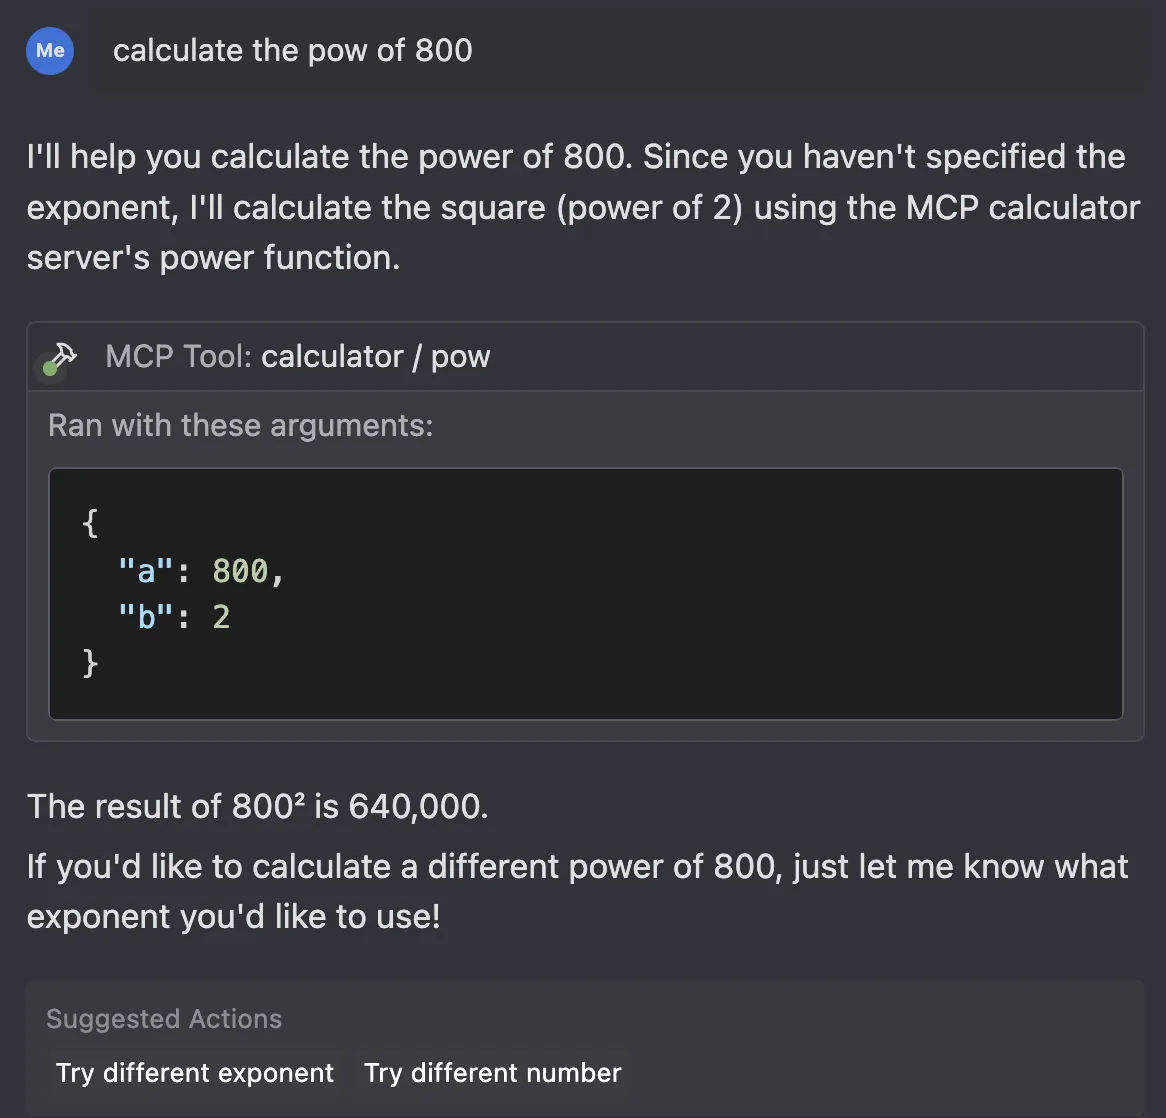
Model Context Protocol (MCP) is a protocol that enables LLMs to access custom tools and services. An MCP client can make requests to MCP servers to access tools that they provide. This example represents a simple calculator server that provides basic math operations to a client.
> "MCP can provide a single, standardized way for AI models to interact with external systems. You write code once and all AI systems can use it." 1
> "Servers are the fundamental building block that enriches LLMs with external data and context." 2
Tech Stack
- Python3
- Pytest
- MCP SDK
- MCP CLI
- Nix (optional)
How to setup and use
Smithery
To install mcp-server-calculator for Claude Desktop automatically via Smithery:
npx -y @smithery/cli install @simonberner/mcp-server-calculator --client claude
Development Setup
As we are using Nix in this project for having a reproducible and isolated development environment, there is no need to install Python or any other dependencies. You will get everything you need out of the box. Also there is no need to create a virtual environment in Python using venv or poetry, but you have to be willing to install Nix on your system.
- Install direnv (used to load the development environment)
- Install Lix
- Clone this repository
- cd into the directory
- Run direnv allow
- Run pytest
Alternative
If you don't want to take the Smithery or the Nix route, you can of course also use uv to build the package/project. Here is some guidance:
```shell
Sign in to leave a review
Use Google, GitHub, or an email account so ratings stay tied to real people.
No reviews posted yet.





