
Context Book
About
Stop re-explaining yourself to agents. Give it the right context right when it is needed.
Details
- Author
- aditya201551
- Downloads
- 256
- Categories
- Other, AI
Jump to
- Eight MCP tools: create/update/list/get books, insert/update/delete/search pages, and a readme tool.
- Semantic search across all books using Voyage AI embeddings.
- Automatic embedding generation on page insert or update.
- OAuth 2.0 PKCE for the API server; Bearer token authentication for MCP tools.
- Two separate servers: API (REST, port 8080) and MCP (port 8081).
- Optional React frontend dashboard for managing books and pages.

Setting up with Highlight
This MCP is not yet compatible with Highlight’s one-click setup. However, you can still use it with Highlight by following these steps:
- Download and install Highlight from highlightai.com/download
- Navigate to the plugins tab and select "Add Custom Plugin"
-
Configure the plugin with the settings below
Plugin Name
Context BookCommand (node, npx, python, etc.)Please refer to the README for specific instructions on how to obtain API keys or other required environment variables.
- Enable "Start Automatically" if you want the plugin to start when Highlight launches





From the repository
Install prerequisites: Go 1.26+, Node.js 22+, PostgreSQL 16+ with pgvector and pg_trgm extensions, and a Voyage AI API key. Set up the database, configure environment variables, then run go run ./cmd/api/main.go and go run ./cmd/mcp/main.go from the backend directory. Connect any MCP-compatible client by pointing it to http://localhost:8081/mcp, optionally run the frontend with npm run dev in the frontend directory. For Cursor, add the server URL to .cursor/mcp.json.
Claude Desktop / Cursor
Paste into your MCP client config file to install this server.
{
    "mcpServers": {
        "context book": {
            "context-book": {
                "url": "https://context-book-mcp-production.up.railway.app"
            }
        }
    }
}McpServers
{
    "context-book": {
        "url": "https://context-book-mcp-production.up.railway.app"
    }
}
<p align="center">
</p>

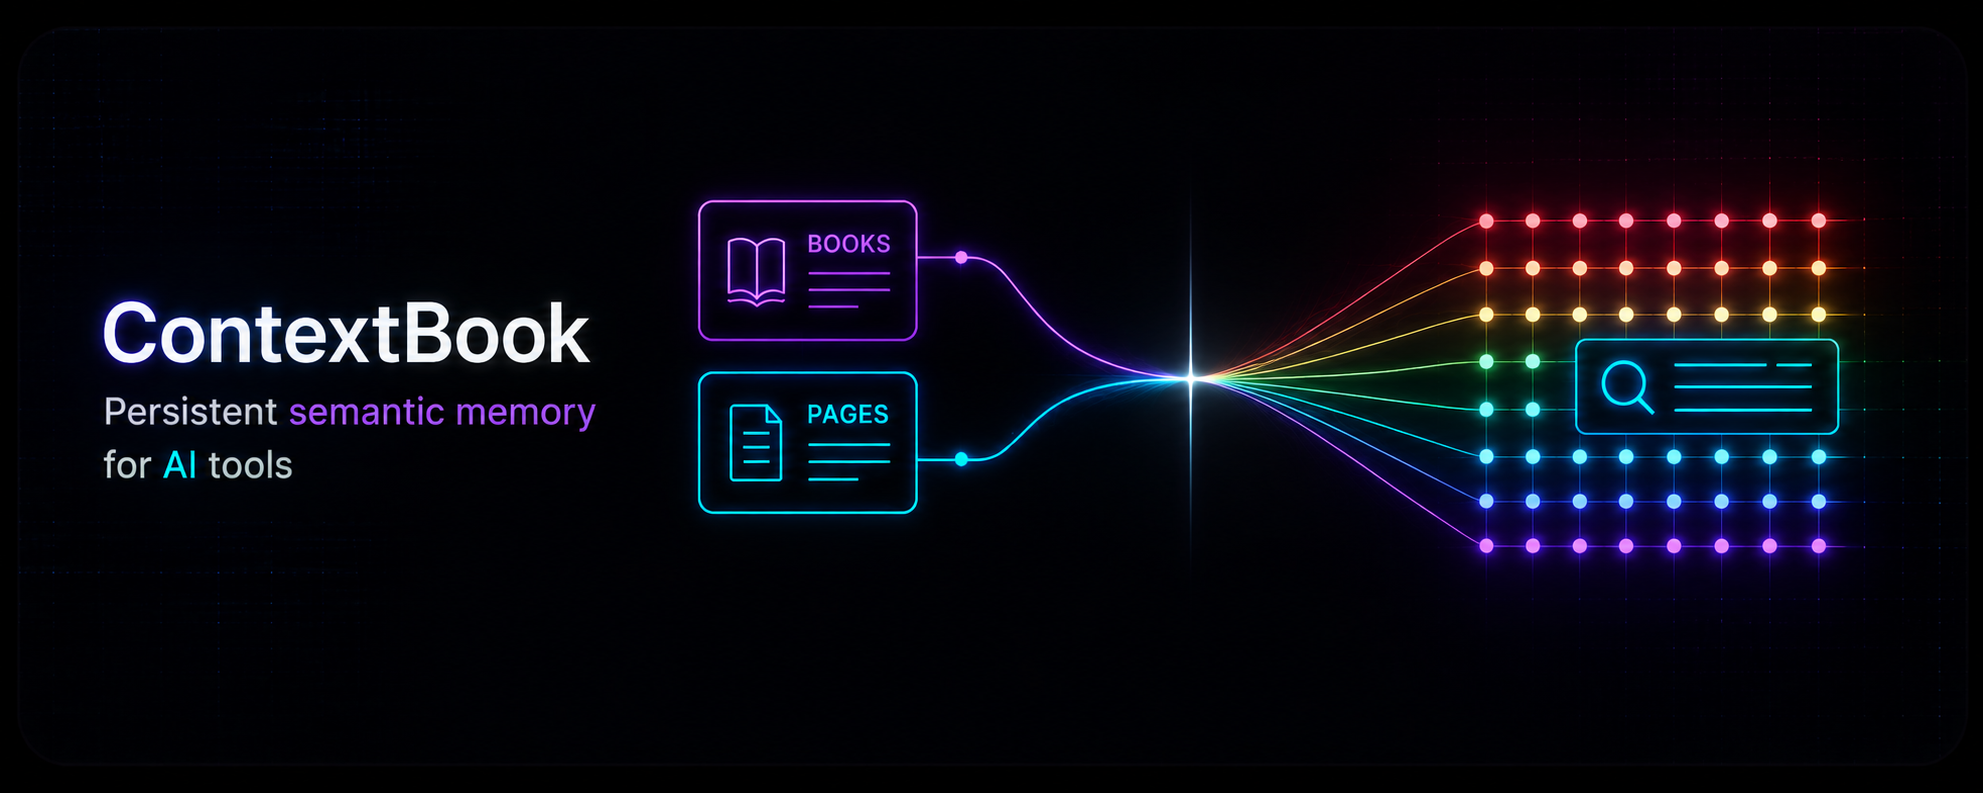
Stop re-explaining yourself to Agents. Give it the right context, right when needed.
LLMs are stateless — each conversation starts from scratch. ContextBook gives your AI tools a persistent, searchable knowledge library to draw the right context when they need it. No bloatware, no pre-loaded junk. Just the right information, at the right time.
How It Works
flowchart LR
    AI["🤖 AI Clients\nClaude · Cursor · Windsurf"]
    Browser["🌐 Browser Dashboard"]
    MCP["🔌 MCP Server :8081\n8 Bearer-authenticated tools"]
    API["⚙️ REST API :8080\nOAuth 2.0 · Books · Pages · Search"]
    DB["🗄️ PostgreSQL\npgvector · pg_trgm"]
    VOYAGE["🧠 Voyage AI\nvoyage-4 (1024-dim)"]
AI -- "MCP · Bearer Token" --> MCP

    Browser -- "Session · HTTP JSON" --> API

    MCP --- DB

    API --- DB

    API -- "OAuth 2.0 PKCE" --> AI

    DB --- VOYAGE
Two Go binaries share a PostgreSQL database:
- API server (cmd/api) — the control plane: user login, OAuth 2.0, dashboard, book/page CRUD
- MCP server (cmd/mcp) — the data plane: 8 MCP tools for AI agents, protected by Bearer tokens
MCP Tools
All tools require a valid Bearer token and are scoped to the authenticated user.
| Tool | Description |
|------|-------------|
| book_create_or_update | Create a Book or update its metadata |
| book_list | Paginated list of Book metadata |
| book_get | Retrieve all pages of a Book |
| page_insert | Push an atomic page into a Book; embeds immediately |
| page_update | Replace a page's content; re-embeds |
| page_delete | Remove a page (indices not re-numbered) |
| page_search | Semantic search across all Books |
| readme | Returns the usage guide (call once per session) |
Quick Start
Prerequisites
- Go 1.26+
- Node.js 22+
- PostgreSQL 16+ with pgvector and pg_trgm
- A Voyage AI API key
1. Set up the database
CREATE DATABASE contextbook_db;
\c contextbook_db
CREATE EXTENSION IF NOT EXISTS vector;
CREATE EXTENSION IF NOT EXISTS pg_trgm;
Migrations run automatically on API server startup.
2. Configure environment
cp .env.example backend/.env
Edit backend/.env — set DATABASE_URL, API_KEY_SALT, VOYAGE_API_KEY
3. Run the backend
cd backend
go run ./cmd/api/main.go    # API + dashboard (:8080)
go run ./cmd/mcp/main.go     # MCP server (:8081)
4. Run the frontend (optional)
cd frontend
npm install && npm run dev    # Vite dev server on :5173
5. Connect an AI client
For Cursor (.cursor/mcp.json):
{
  "mcpServers": {
    "contextbook": {
      "url": "http://localhost:8081/mcp"
    }
  }
}
For any MCP-compatible client, point the server URL to http://localhost:8081/mcp.
Documentation
- Backend README — API routes, auth flows, database schema, MCP tools, configuration
- Frontend README — components, routing, design system, development setup
- Architecture — full system overview with Mermaid diagrams
Project Structure
context-book/
├── backend/
│   ├── cmd/api/main.go          REST API + auth server
│   ├── cmd/mcp/main.go          MCP tool server
│   └── internal/
│       ├── api/                  REST handlers + routes
│       ├── auth/                 OAuth 2.0 PKCE, sessions, SSO
│       ├── context/              Book/Page business logic
│       ├── db/                  pgx queries + migrations
│       ├── embedding/            Voyage AI client
│       ├── logger/               slog + HTTP access logging
│       └── mcp/                  8 MCP tool handlers
├── frontend/                     React 19 + Vite + TypeScript SPA
│   └── src/
│       ├── App.tsx               Router + app shell
│       ├── lib/api.ts            HTTP client
│       └── components/           UI components
├── Dockerfile                    API server container
├── Dockerfile.mcp                MCP server container
└── go.work                       Go workspace
Contributing
1. Fork the repository
2. Create a feature branch (git checkout -b feature/my-feature)
3. Make your changes
4. Ensure the backend compiles (cd backend && go build ./cmd/api ./cmd/mcp)
5. Ensure the frontend builds (cd frontend && npm run build)
6. Commit and push
7. Open a Pull Request
License
MIT — see the LICENSE file for details.
Sign in to leave a review
Use Google, GitHub, or an email account so ratings stay tied to real people.
No reviews posted yet.





