
Layer Prompt Manager
About
This helps you create a mcp server which your IDE can access to create and save prompts for you code base
Details
- Author
- vivek100
- GitHub stars
- 1
- Downloads
- 316
- Categories
- Developer Tools
Jump to
- Save prompts directly from your AI-powered IDE.
- Version control for prompts with change notes.
- Create, edit, and manage Layer prompts.
- Pre-built and custom templates for team standardization.
- Modern matrix-inspired dark mode UI.

Setting up with Highlight
This MCP is not yet compatible with Highlight’s one-click setup. However, you can still use it with Highlight by following these steps:
- Download and install Highlight from highlightai.com/download
- Navigate to the plugins tab and select "Add Custom Plugin"
-
Configure the plugin with the settings below
Plugin Name
Layer Prompt ManagerCommand (node, npx, python, etc.)Please refer to the README for specific instructions on how to obtain API keys or other required environment variables.
- Enable "Start Automatically" if you want the plugin to start when Highlight launches





From the repository
Set up the backend (Python 3.8+, SQLite) and frontend (Node.js v16+), configure environment variables (LAYER_API_KEY, LAYER_BASE_URL, NEXT_PUBLIC_API_URL), then use the web UI to create, edit, version, and manage prompts and templates.
Claude Desktop / Cursor
Paste into your MCP client config file to install this server.
{
    "mcpServers": {
        "layer prompt manager": {
            "codePromptManagerMCP": {
                "command": "python",
                "args": [
                    "-m",
                    "venv",
                    "venv"
                ]
            }
        }
    }
}McpServers
{
    "codePromptManagerMCP": {
        "command": "python",
        "args": [
            "-m",
            "venv",
            "venv"
        ]
    }
}
Layer Prompt Manager
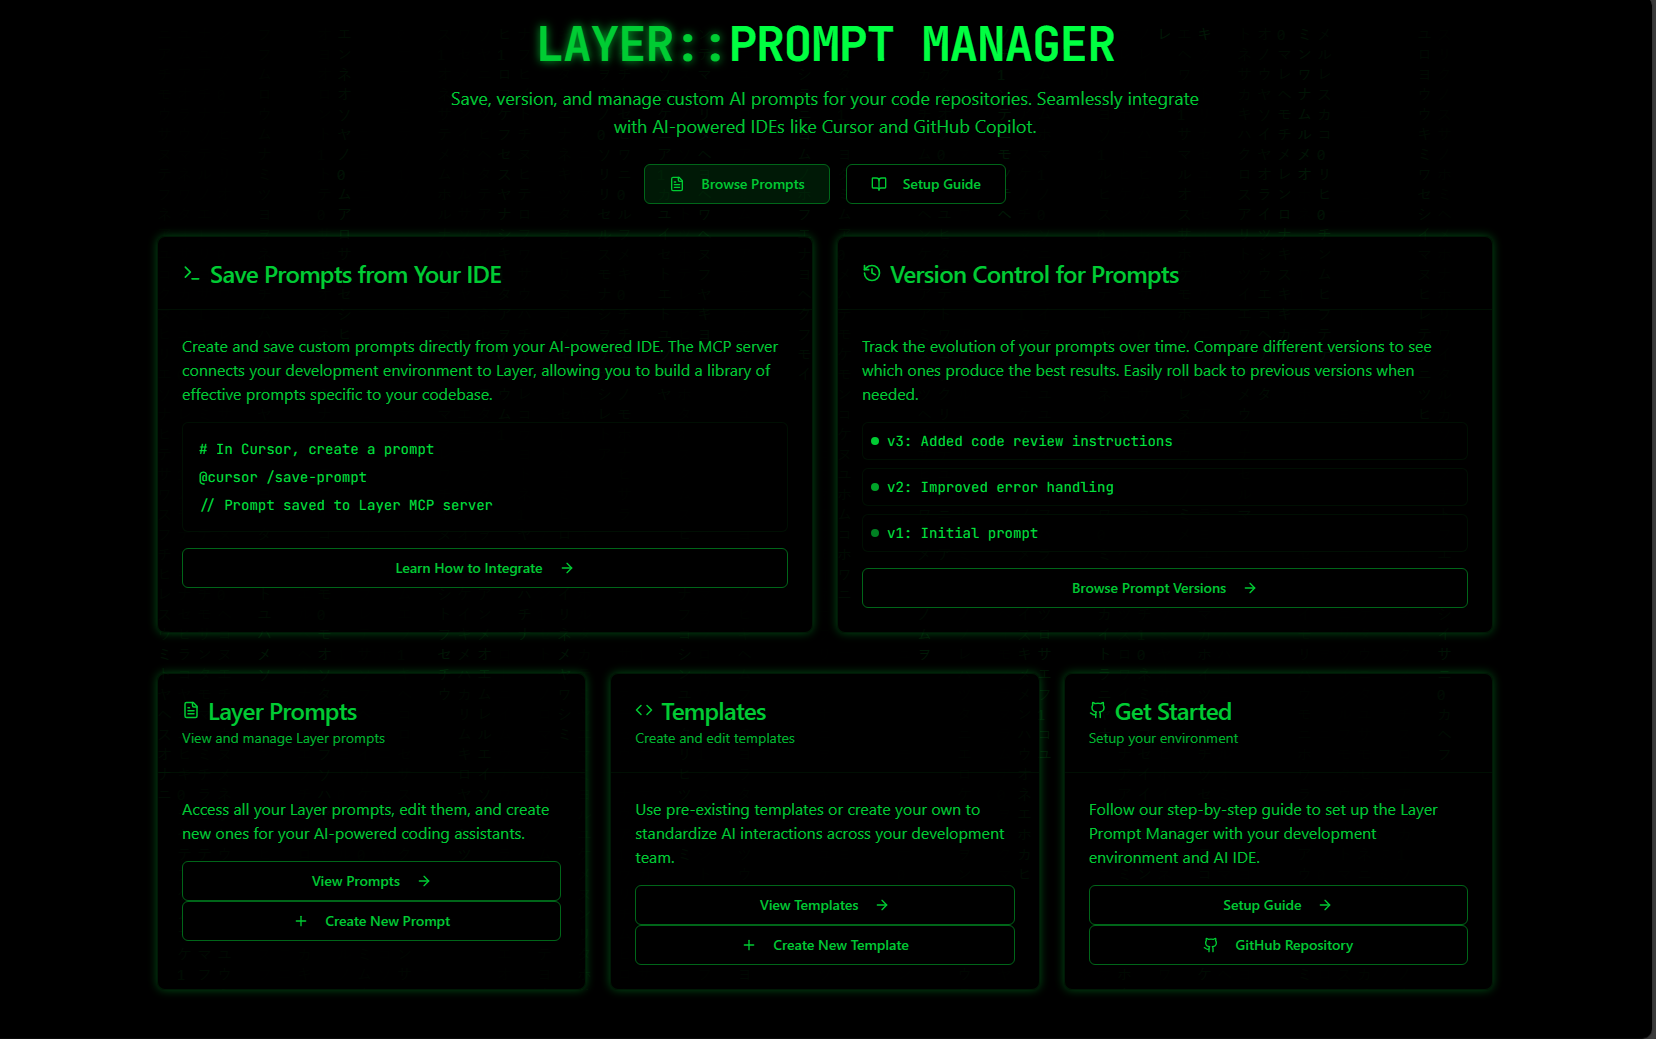
Save, version, and manage custom AI prompts for your code repositories. Seamlessly integrate with AI-powered IDEs like Cursor and GitHub Copilot.
Features
1. Save Prompts from Your IDE
Create and save custom prompts directly from your AI-powered IDE. The MCP server connects your development environment to Layer, allowing you to build a library of effective prompts specific to your codebase.2. Version Control for Prompts
Track the evolution of your prompts over time. Compare different versions to see which ones produce the best results. Easily roll back to previous versions when needed.3. Layer Prompts
- Access all your Layer prompts - Edit existing prompts - Create new prompts for AI-powered coding assistants - Manage prompt versions4. Templates
- Use pre-existing templates - Create your own templates - Standardize AI interactions across your development team - Share and reuse common prompt patterns5. Modern UI
- Matrix-inspired design - Dark mode interface - Responsive layout - Interactive componentsProject Structure
├── frontend/
│   ├── app/
│   │   ├── prompts/      # Prompt management pages
│   │   ├── templates/    # Template management pages
│   │   ├── tools/        # Tool-related components
│   │   └── docs/         # Documentation pages
│   ├── components/       # Reusable UI components
│   └── lib/             # API and utility functions
├── backend/
│   └── main.py          # FastAPI backend server
Setup Instructions
Prerequisites
- Node.js (v16 or higher) - Python 3.8+ - pip - SQLiteBackend Setup
1. Create a virtual environment:
python -m venv venv

source venv/bin/activate  # On Windows: venv\Scripts\activate
2. Install dependencies:
pip install -r requirements.txt
3. Create a .env file in the root directory:
LAYER_API_KEY=your_layer_api_key

LAYER_BASE_URL=https://api.buildwithlayer.com
4. Start the backend server:
uvicorn main:app --reload
Frontend Setup
1. Install dependencies:
cd frontend

npm install
2. Create a .env.local file:
NEXT_PUBLIC_API_URL=http://localhost:8000
3. Start the development server:
npm run dev
Usage
1. Creating Prompts
- Navigate to "Layer Prompts"
- Click "Create New Prompt"
- Fill in prompt details, steps, and arguments
- Save and version your prompt
2. Managing Templates
- Go to "Templates"
- Create new templates or use existing ones
- Edit and customize templates for your team
3. Version Control
- Each prompt can have multiple versions
- Add change notes for version tracking
- Compare and restore previous versions
Environment Variables
Backend (.env):
LAYER_API_KEY=your_layer_api_key

LAYER_BASE_URL=https://api.buildwithlayer.com
Frontend (.env.local):
NEXT_PUBLIC_API_URL=http://localhost:8000
.gitignore
```gitignore
Sign in to leave a review
Use Google, GitHub, or an email account so ratings stay tied to real people.
No reviews posted yet.





