CarrotAI
- agent-framework
CarrotAI is a cutting-edge AI agent application that delivers real-time streaming chat via Server-Sent Events (SSE) with built-in Model Control Protocol (MCP) integration. It supports concurrent connections to multiple SSE MCP servers and provides user interfaces in English, Chin
About
What is CarrotAI?
CarrotAI is a cutting-edge AI agent application that delivers real-time streaming chat via Server-Sent Events (SSE) and streamable HTTP with built-in Model Control Protocol (MCP) integration. It runs on a Flutter frontend + FastAPI backend and provides interfaces in English, Chinese, and Japanese for mobile, desktop, and web platforms.
How to use CarrotAI?
Clone the repository, set up environment variables (backend/.env and .env), start PostgreSQL, run the backend startup script, then deploy with Docker Compose. For manual setup, initialize the database and config, then run the backend server (python main.py). For the frontend, fetch Flutter dependencies, generate localization files, and run the app (flutter run). After launching, register/login via JWT, and interact with the AI agent in chat mode, optionally switching between SSE MCP servers in Settings.
Key features of CarrotAI
- Real-time AI chat powered by SSE and MCP adapters
- Concurrent connections to multiple SSE MCP servers
- Full localization in English, Chinese, and Japanese
- Deep thinking mode for complex, multi-step queries
- Secure JWT-based authentication and registration
- Responsive UI with light/dark mode and custom theming
- File upload to attach and parse documents in conversations
Use cases of CarrotAI
- Aggregate intelligent responses by calling multiple SSE MCP servers simultaneously
- Perform advanced analysis and deep reasoning for complex or multi-step queries
- Communicate with an AI agent in English, Chinese, or Japanese for multilingual support
- Upload files to provide richer context during conversations
FAQ from CarrotAI
What MCP servers does CarrotAI support?
CarrotAI supports SSE (Server-Sent Events) MCP servers defined in backend/config/mcp_servers.json. Custom adapters can be added via JSON files in backend/config/app/.
Which AI models are supported?
The supported LLM is DeepSeek, as defined in model_configs.json. Additional models can be configured by editing that file.
What platforms can CarrotAI run on?
The Flutter frontend runs on mobile (iOS/Android), desktop (Windows/macOS/Linux), and web (via WASM build).
Is CarrotAI free and open-source?
CarrotAI is licensed under the CarrotAI Open Source License. An online version is available at chat.jintongshu.com, and a SaaS client can be downloaded.
Can I add my own MCP servers?
Yes. Add SSE endpoints to mcp_servers.json or create custom adapter JSON files in backend/config/app/, then restart the backend to apply changes.
Details
- Author
- xingsandesu
- GitHub stars
- 39
- Category
- agent-framework
- Repository
- xingsandesu/carrotai
CarrotAI
<div align="center">

<h3>AI Agent with Multi-Server Streaming & Multi-Language Support</h3>
<p>Flutter Frontend + FastAPI Backend</p>
</div>
<p align="center">
🚀 <a href="https://chat.jintongshu.com/">Experience online now</a> | <a href="https://jintongshu.com/download/">SaaS Client download</a>
</p>
<p align="center">
🇨🇳 <a href="README_zh.md">阅读中文文档</a>
</p>
---
🥕 Introduction
CarrotAI is a cutting-edge AI agent application that delivers real-time streaming chat via Server-Sent Events (SSE) and streamable HTTP with built-in Model Control Protocol (MCP) integration. It supports concurrent connections to multiple SSE MCP servers and provides user interfaces in English, Chinese, and Japanese.
🚀 Features
- AI Agent: Real-time chat powered by SSE and MCP adapters for a seamless conversational experience.
- Multi-Server Support: Connect to and call multiple SSE MCP servers simultaneously to aggregate intelligent responses.
- Multi-Language: Full localization in English, 中文 (Chinese), and 日本語 (Japanese).
- Deep Thinking Mode: Advanced analysis for complex or multi-step queries.
- Authentication: Secure login/register flow using JWT tokens.
- Responsive UI: Adaptive design for mobile, desktop, and web platforms.
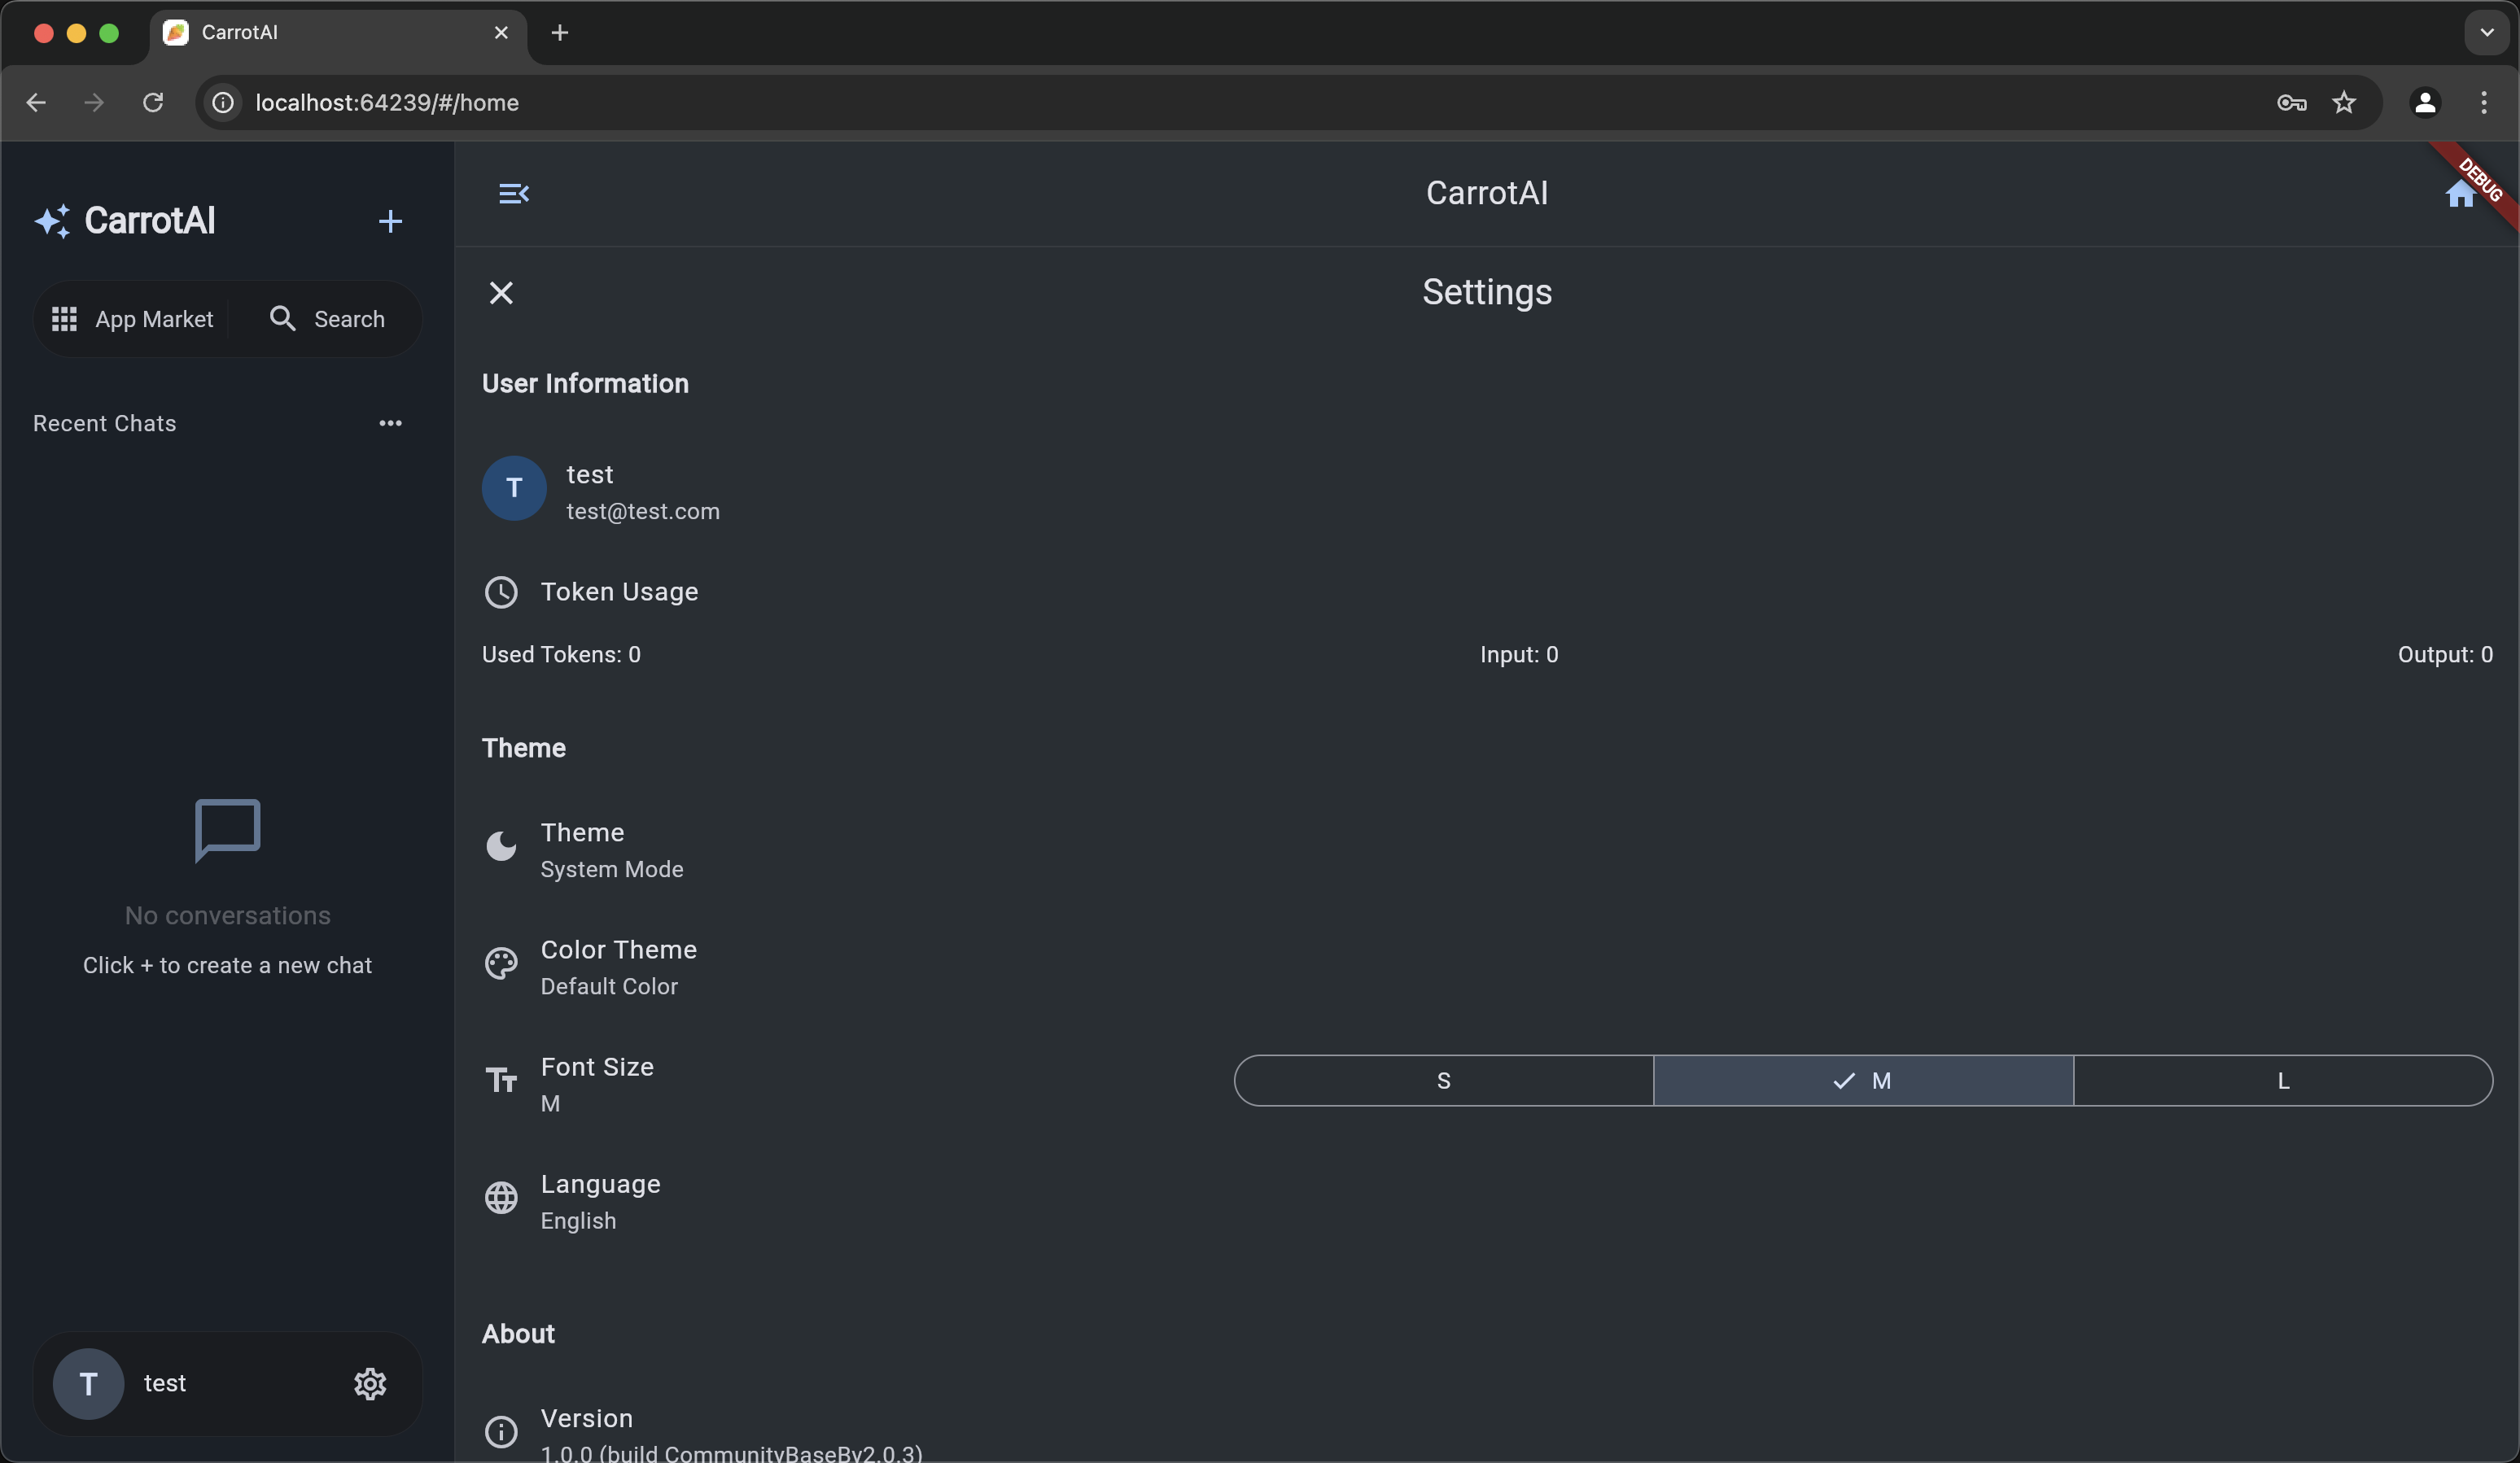
- Theme Customization: Light/dark mode, custom seed colors, and dynamic Material 3 theming via dynamic_color.
- File Upload: Attach and parse files within conversations for richer context.
🤖 Supported Model APIs
- DeepSeek: Advanced language model with strong reasoning capabilities
🛠️ Tech Stack
Frontend
- Framework: Flutter - State Management: Provider - UI: Material Design 3 - Localization: flutter gen-l10n - Theming: dynamic_colorBackend
- Framework: FastAPI - Streaming: Server-Sent Events (SSE) - AI Integration: DeepSeek LLM, MCP (Model Control Protocol) - Database: PostgreSQL + SQLAlchemy - Authentication: JSON Web Tokens - Migrations: Alembic - Deployment: Uvicorn & Gunicorn📋 Prerequisites
- Flutter SDK ^3.7.2
- Python >=3.12
- PostgreSQL
⚡ Quick Start
> Please make sure that it has been installed. uv
# Clone repository
git clone https://github.com/Xingsandesu/CarrotAI.git && cd CarrotAI
Deal with environment variables
mv backend/.env.example backend/.env && mv .env.example .env
Edit environment variables
vim .env
vim backend/.env
Temporarily start PostgreSQL
docker-compose -f docker-compose.yml -f docker-compose.override.yml up -d postgres
Backend setup
uv run backend/scripts/startup.py --user --email <email> --username <name> --password <password>
Stop PostgreSQL
docker-compose -f docker-compose.yml -f docker-compose.override.yml down
Deal with Config
vim config/
Run Backend
docker compose up -d
🔧 Installation
Backend Setup
1. Navigate to the backend directory:
cd backend
2. Create and activate a virtual environment:
uv sync
3. Copy the example environment file:
cp .env.example .env
4. Apply database migrations:
uv run scripts/init_db.py && uv run scripts/init_config.py
6. Run the server:
   python main.py       # Development mode

   python main.py prod  # Production mode with Gunicorn
Frontend Setup
1. Return to the project root:
cd ..
2. Fetch Flutter dependencies:
flutter pub get
3. Generate localization files:
flutter gen-l10n
4. Launch the app:
flutter run
5. Build for web:
flutter build web --wasm
🌐 Configuration
- Frontend: Edit lib/core/config/app_config.dart for API endpoints and theming defaults.
- Backend: Configure .env and backend/app/core/config.py for database, and MCP servers.
Backend Configuration Files
The backend uses JSON files located in backend/config/ to define models, MCP servers, and custom adapters. Below is the default folder structure:
backend/config/
├── model_configs.json       # LLM model definitions and metadata
├── mcp_servers.json         # SSE MCP server endpoints and env settings
└── app/                     # Custom adapter definitions
    └── duckduckgo-search.json
model_configs.json
Defines available LLM models for CarrotAI. Each entry includes:
- id (string): Unique model identifier.
- icon (string): Icon name for display.
- translations (object): Localized names and descriptions (zh, en, ja).
- exclusiveRules (object): Toggles and exclusion rules for features.
Example:
[

  {

    "id": "deepseek",

    "icon": "smart_toy_outlined",

    "translations": {

      "zh": { "name": "DeepSeek", "description": "专注于深度思考和复杂推理的满血模型" },

      "en": { "name": "DeepSeek", "description": "Powerful Chinese large model focused on deep thinking and complex reasoning" },

      "ja": { "name": "DeepSeek", "description": "深い思考と複雑な推論に特化した強力な中国語大規模モデル" }

    },

    "exclusiveRules": {

      "deepThinking": { "enabled": true, "excludes": ["mcpServices"] },

      "mcpServices": { "enabled": true, "excludes": ["deepThinking"] }

    }

  }

]
mcp_servers.json
Specifies SSE Model Control Protocol (MCP) endpoints. Format:
- Keys: service names.
- url (string): SSE endpoint URL.
- env (object): Environment variables for the adapter.
Example:
{

  "serviceA": {

    "url": "http://localhost:10000/sse",

    "env": {

      "API_KEY": "your_api_key"

    }

  }

}
Custom Adapters (app/.json)
Place custom MCP adapters in backend/config/app/. Each file defines:
- id (string): Adapter identifier.
- icon (string): Emoji or icon name.
- mcpServer (object): Same structure as entries in mcp_servers.json.
- translations (object): Localized UI metadata.
Example (duckduckgo-search.json):
{

  "id": "duckduckgo-search",

  "icon": "🔍",

  "mcpServer": {

    "url": "http://localhost:10000/duckduckgo-search",

    "env": {}

  },

  "transportType": "sse",

  "translations": {

    "en": { "name": "DuckDuckGo Search", "type": "Search Tool", "description": "Use DuckDuckGo search engine for secure and private web searches" },

    "zh": { "name": "DuckDuckGo搜索", "type": "搜索工具", "description": "使用DuckDuckGo搜索引擎进行安全、私密的网络搜索" },

    "ja": { "name": "DuckDuckGo検索", "type": "検索ツール", "description": "DuckDuckGo検索エンジンを使用して安全でプライベートなウェブ検索を行います" }

  }

}
Usage
1. Initialize default configurations:
uv run scripts/init_config.py
2. Modify JSON files under
backend/config/ to add or update models and endpoints.3. Restart the backend server to apply changes.
🔧 Environment Variables
Backend (.env)
| Key | Description | Default |
|----------------------|----------------------------------------|-----------|
| DATABASE_URL | PostgreSQL connection URL | required|
| BACKEND_CORS_ORIGINS | Allowed CORS origins (comma-separated) | [] |
| MCP_SERVERS | JSON list of SSE MCP server endpoints | required|
| SECRET_KEY | JWT secret key | required*|
Frontend (lib/core/config/app_config.dart)
static String get baseUrl => "http://127.0.0.1:8000";
💡 Usage
1. Launch backend and frontend as shown in Quick Start.
2. Open the app in your browser or mobile emulator.
3. Register or login to obtain a JWT token.
4. Use deep thinking mode or default chat mode to interact with the AI agent.
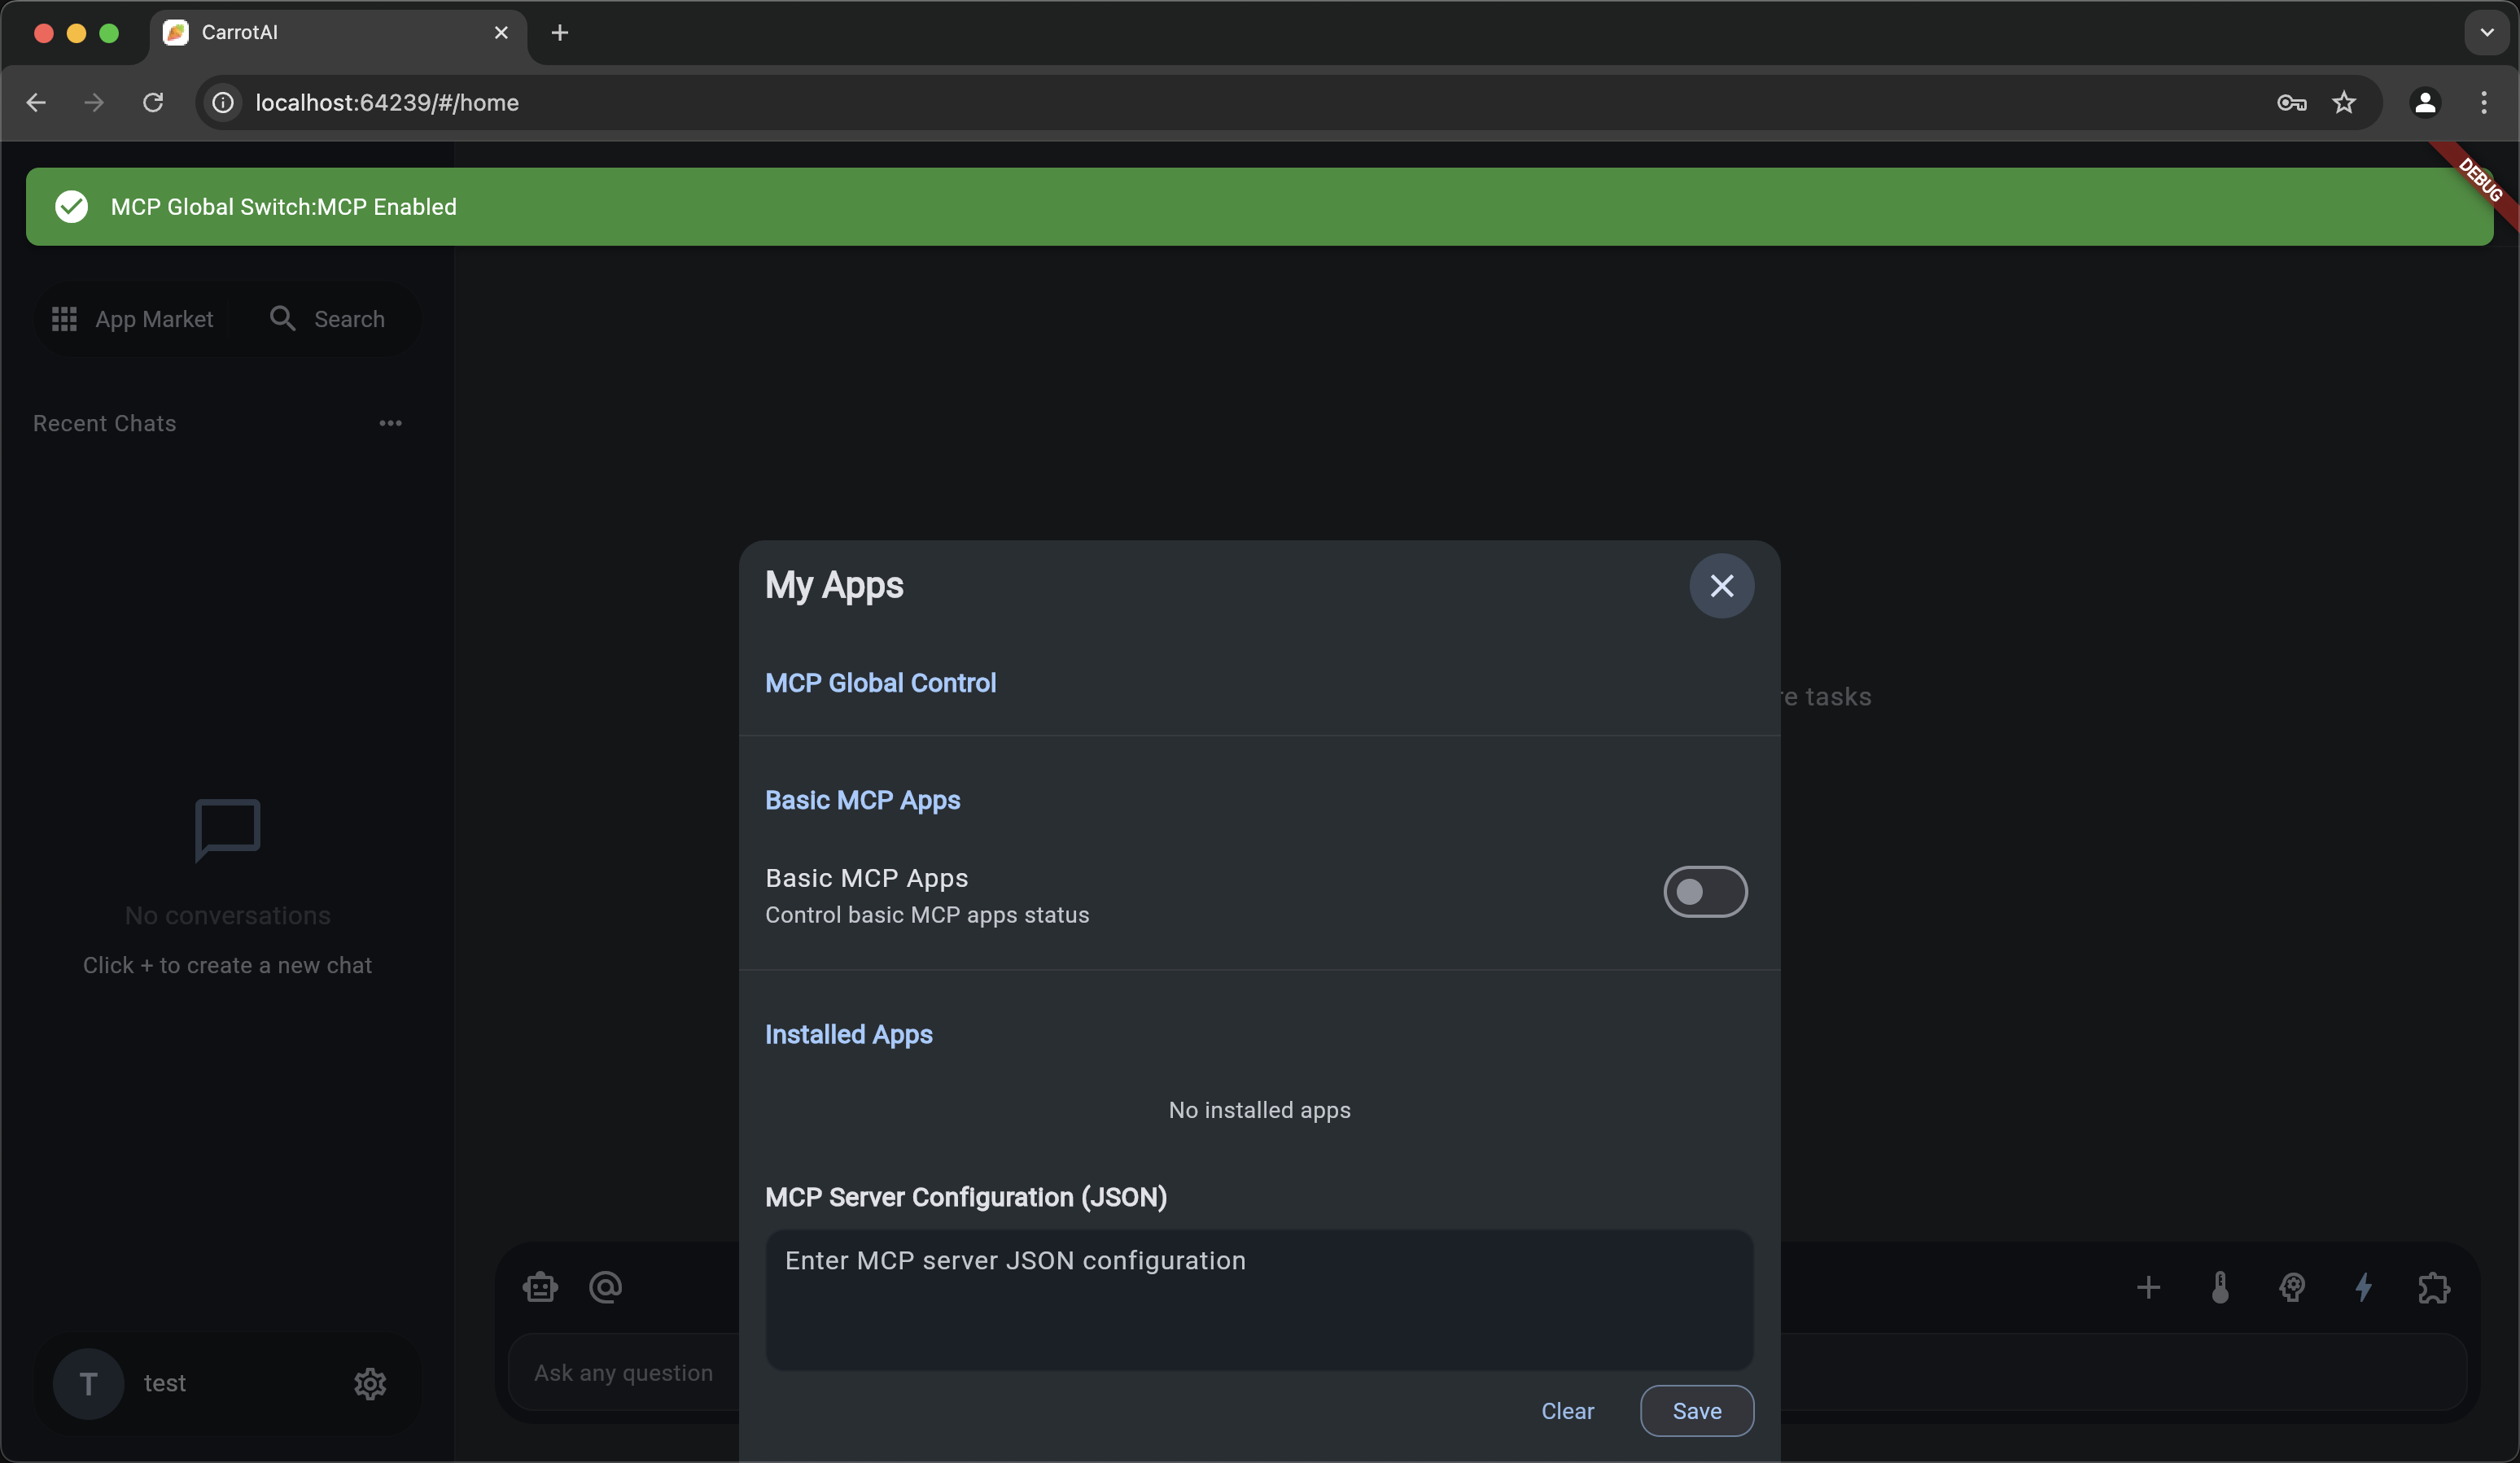
5. Switch between MCP servers or add new endpoints under Settings.
🔗 API Reference
Access the interactive Swagger UI at:
http://127.0.0.1:8000/docs
🛣️ Roadmap
- [x] SSE multi-server support
- [x] Multi-language (EN, 中文, 日本語)
- [x] Docker Compose setup
- [x] streamable HTTP support
- [ ] Local Stdio multi-server support
- [ ] Local OCR support
- [ ] Support for more formats of the upload interface
- [ ] Frontend custom prompts
- [ ] More model support
- [ ] More language support
🛡️ Security
- Authentication: All backend endpoints secured with JWT; tokens stored securely in encrypted storage.
- Data Protection: Use HTTPS in production; configure allowed CORS origins via BACKEND_CORS_ORIGINS in .env.
- Secret Management: Define SECRET_KEY in .env; ensure no secrets are committed to source control.
🔍 Monitoring & Logging
- Server Logs: Configured in gunicorn.conf.py; access and error logs in logs/.
- Application Logs: Uses Loguru for structured logging; frontend disables debugPrint in release mode.
🚀 Performance & Optimization
- Caching: Frontend caches static assets; backend uses async connection pooling for PostgreSQL.
- Bundle Size: Web artifact built with --wasm for optimized delivery.
🗂️ Changelog
> All notable changes are documented in CHANGELOG.md.
📱 Screenshots
<div align="center">
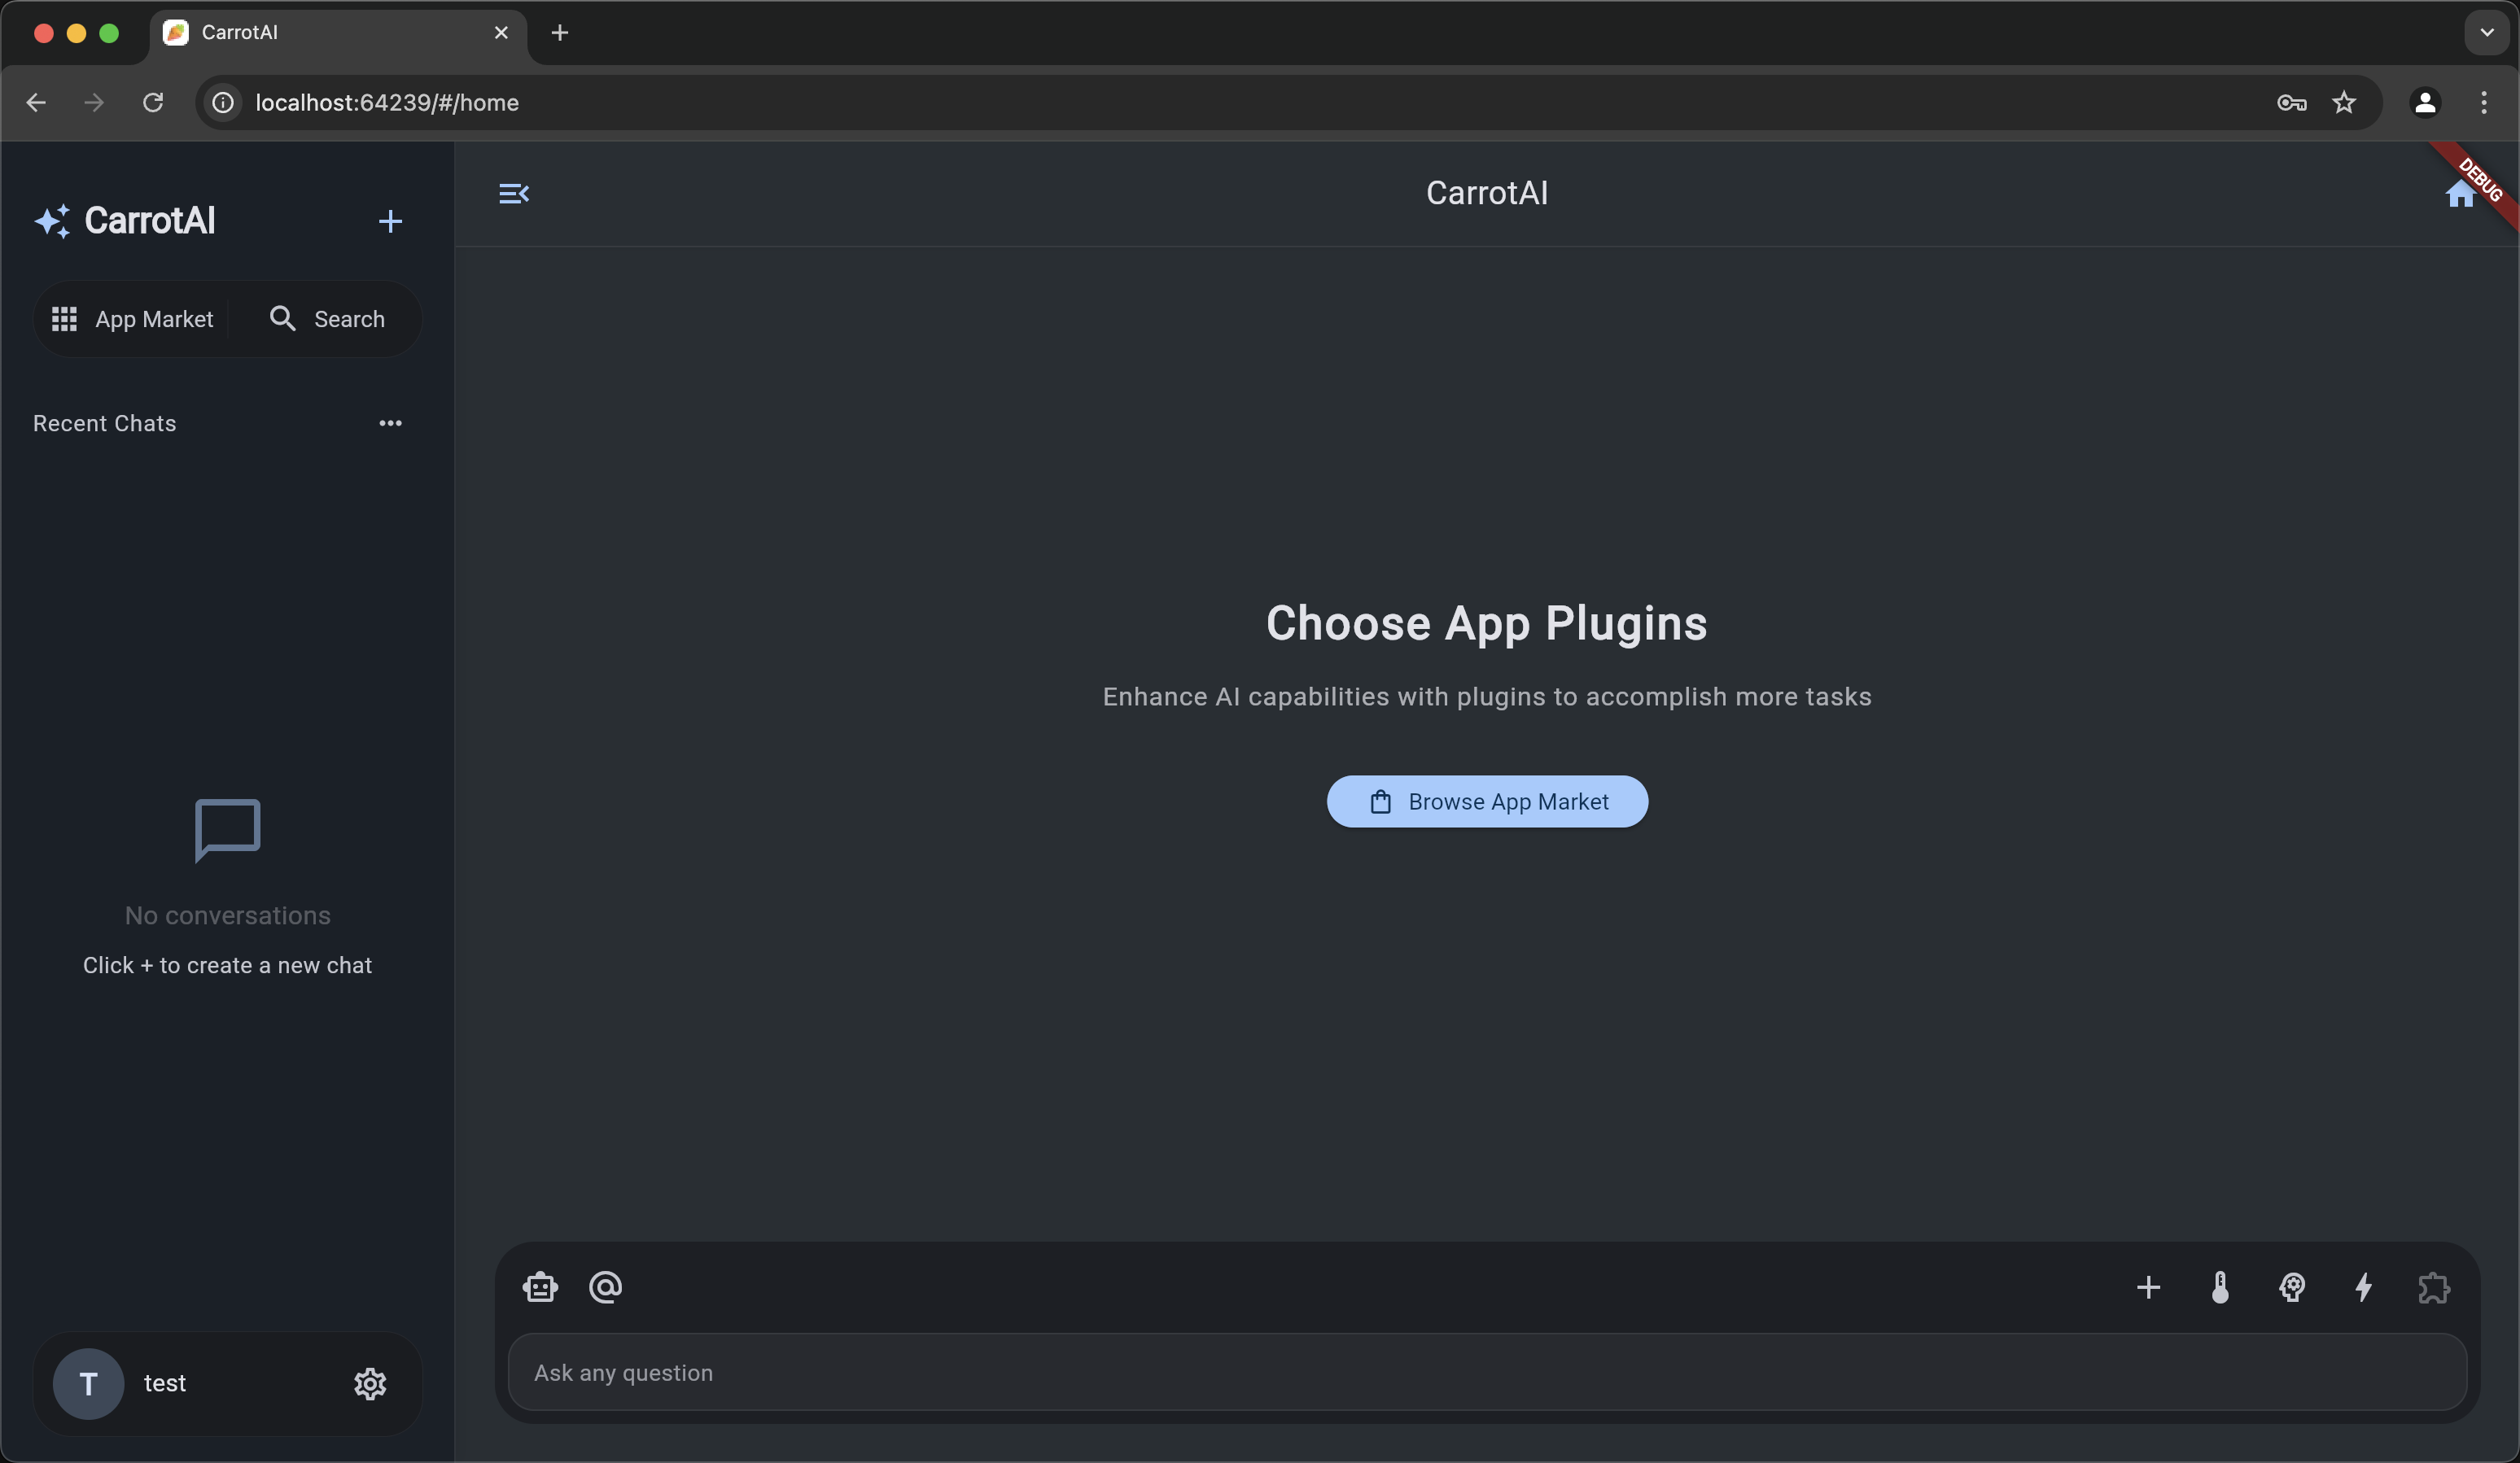
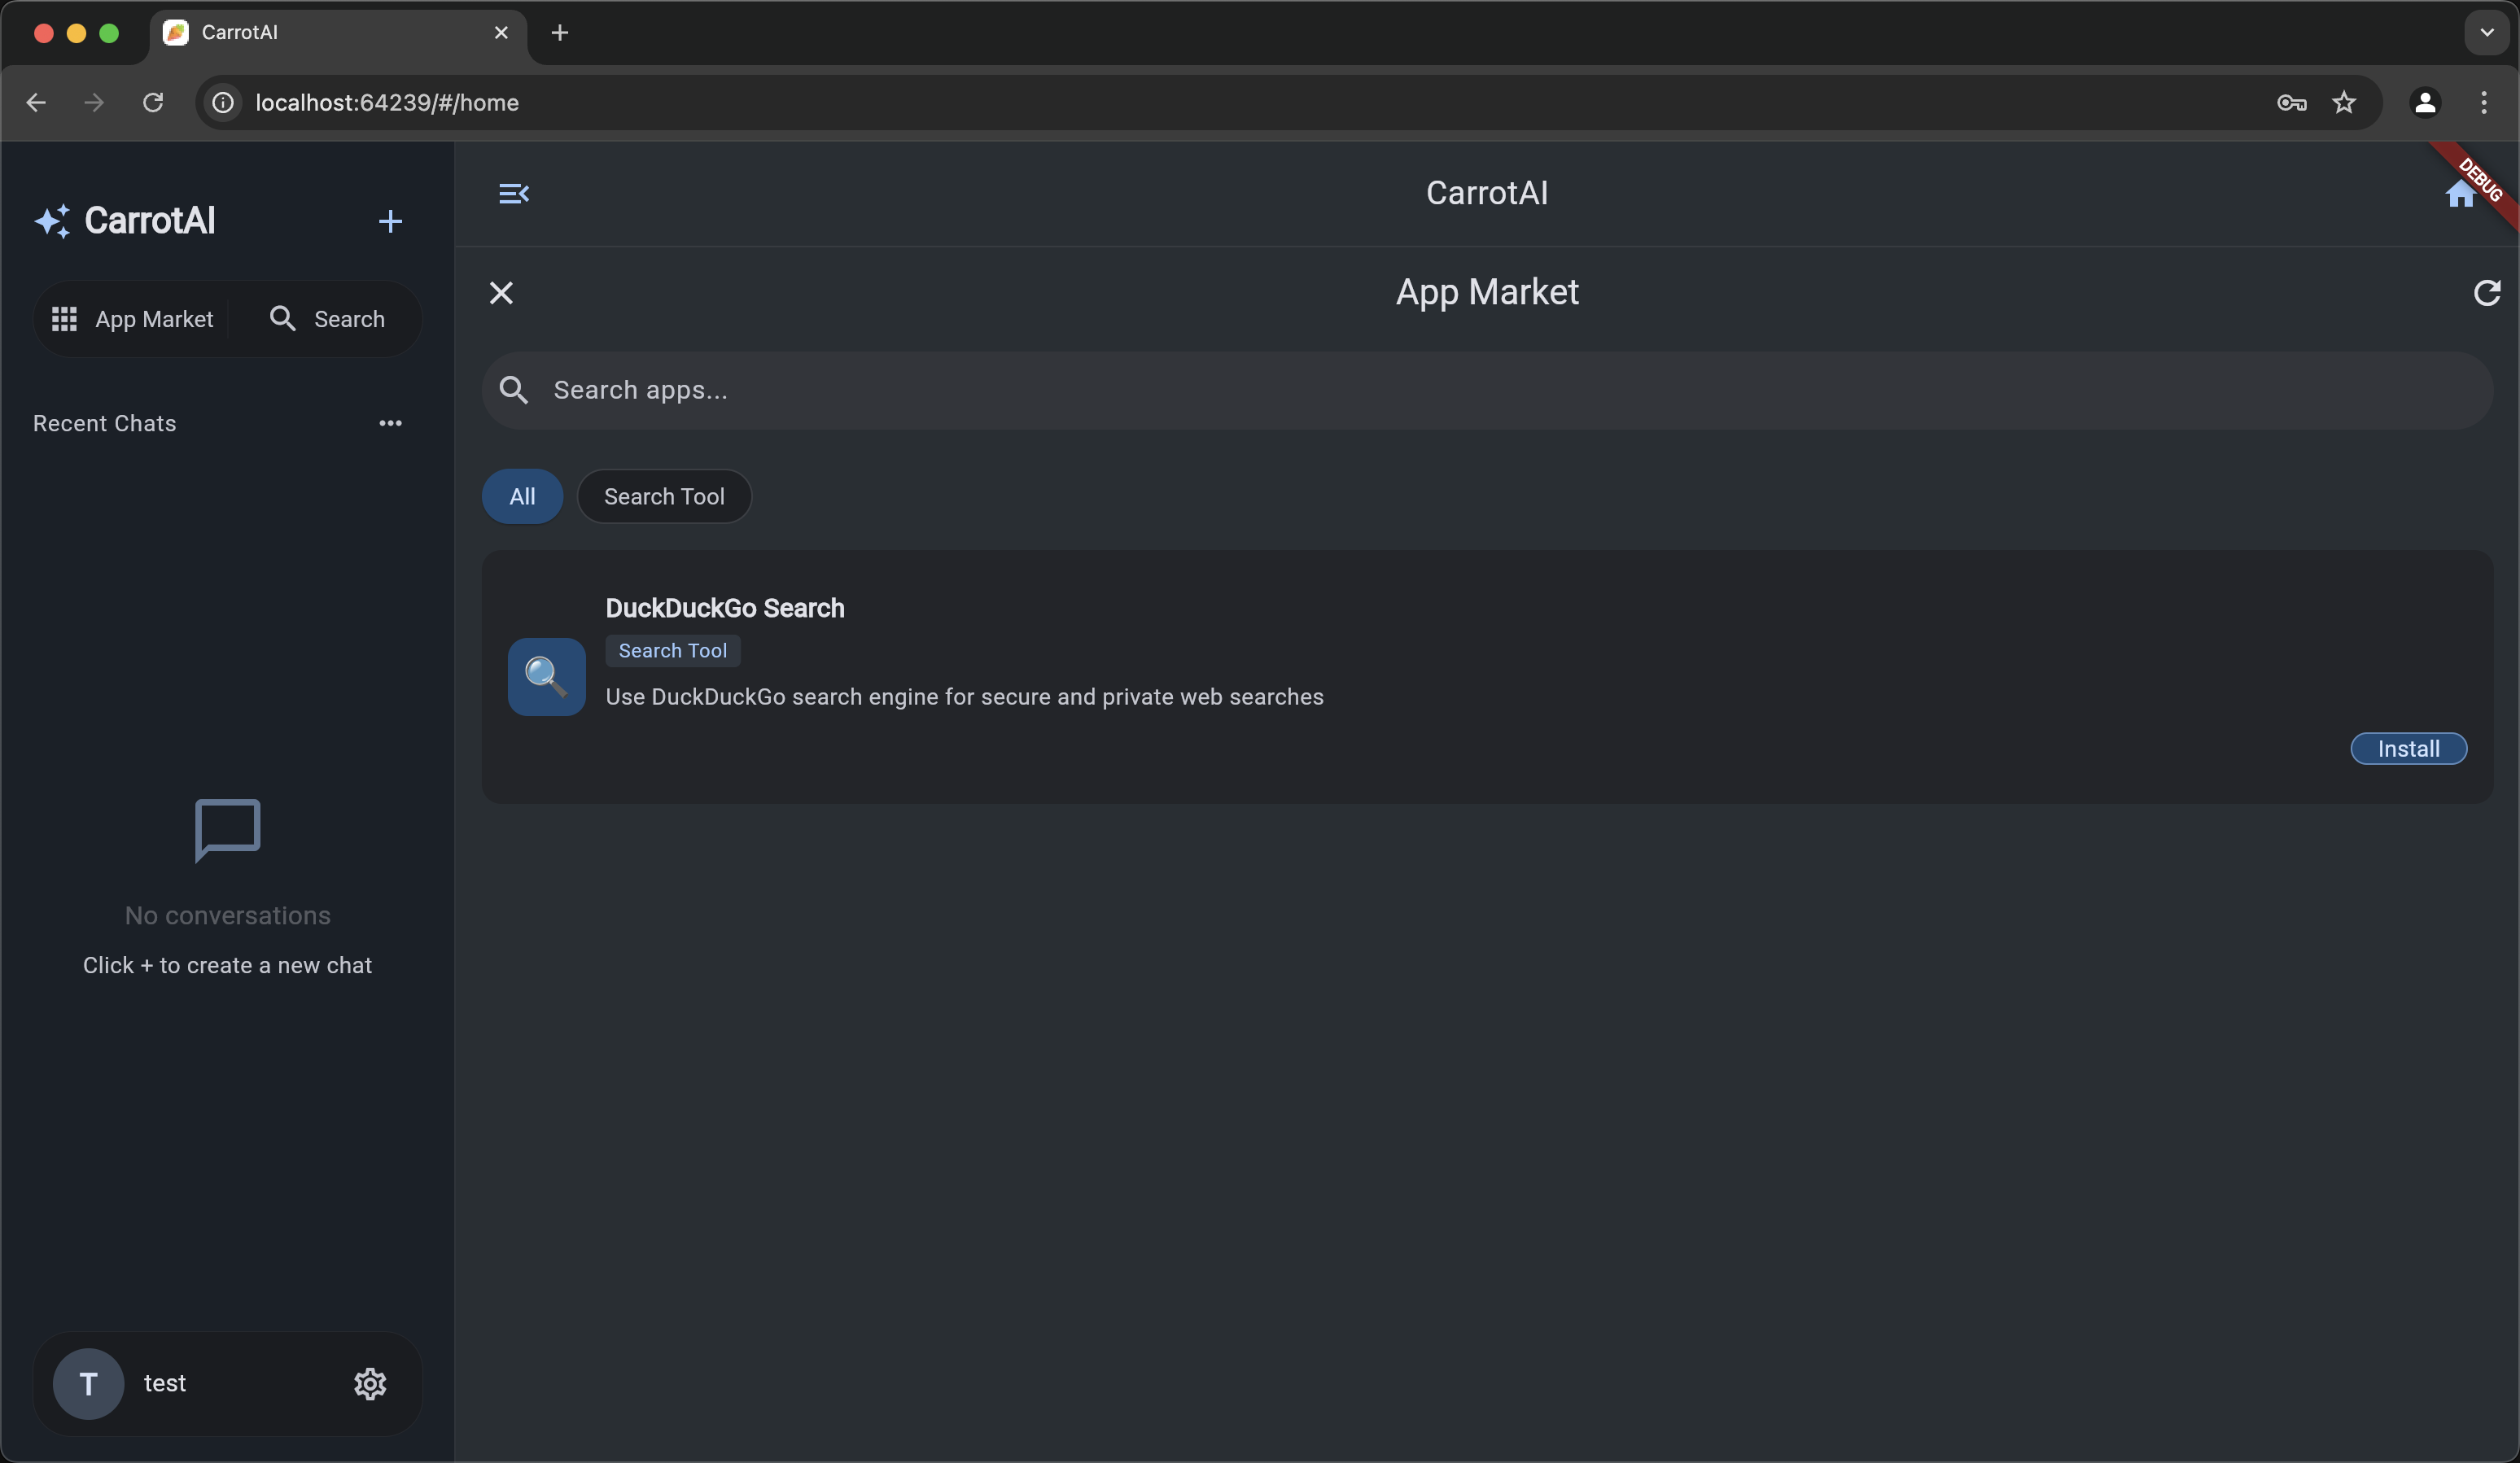
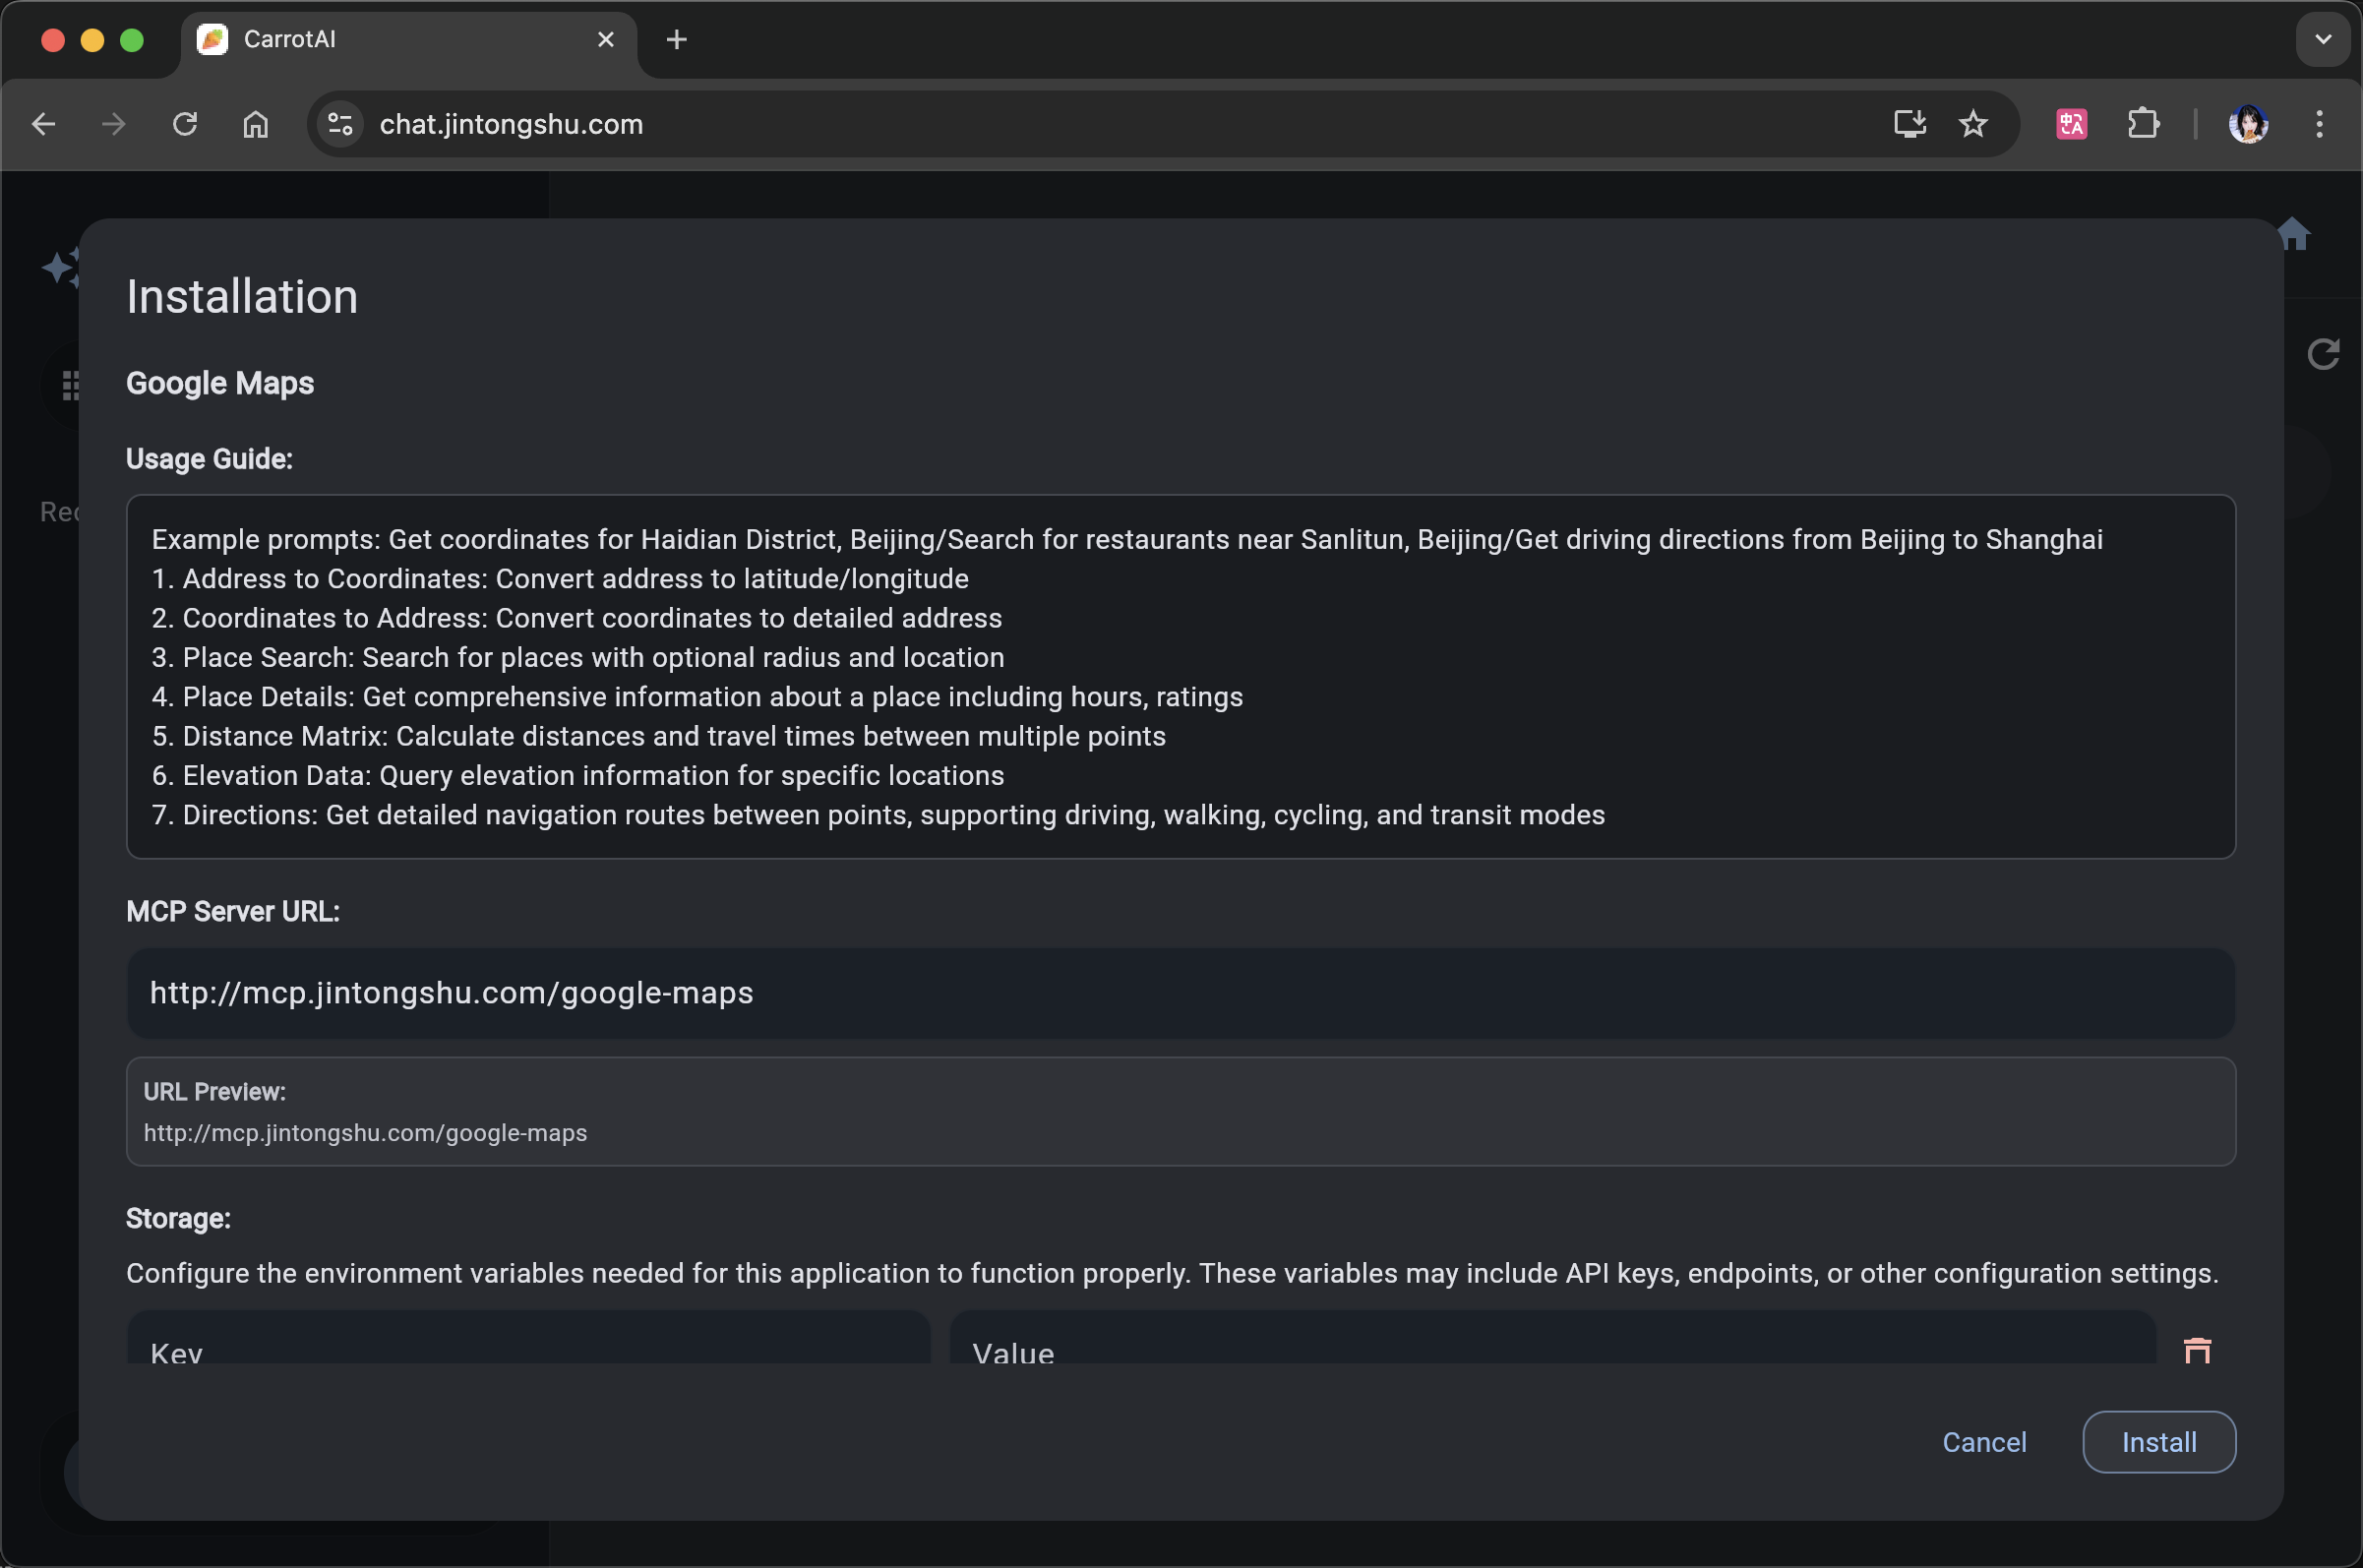
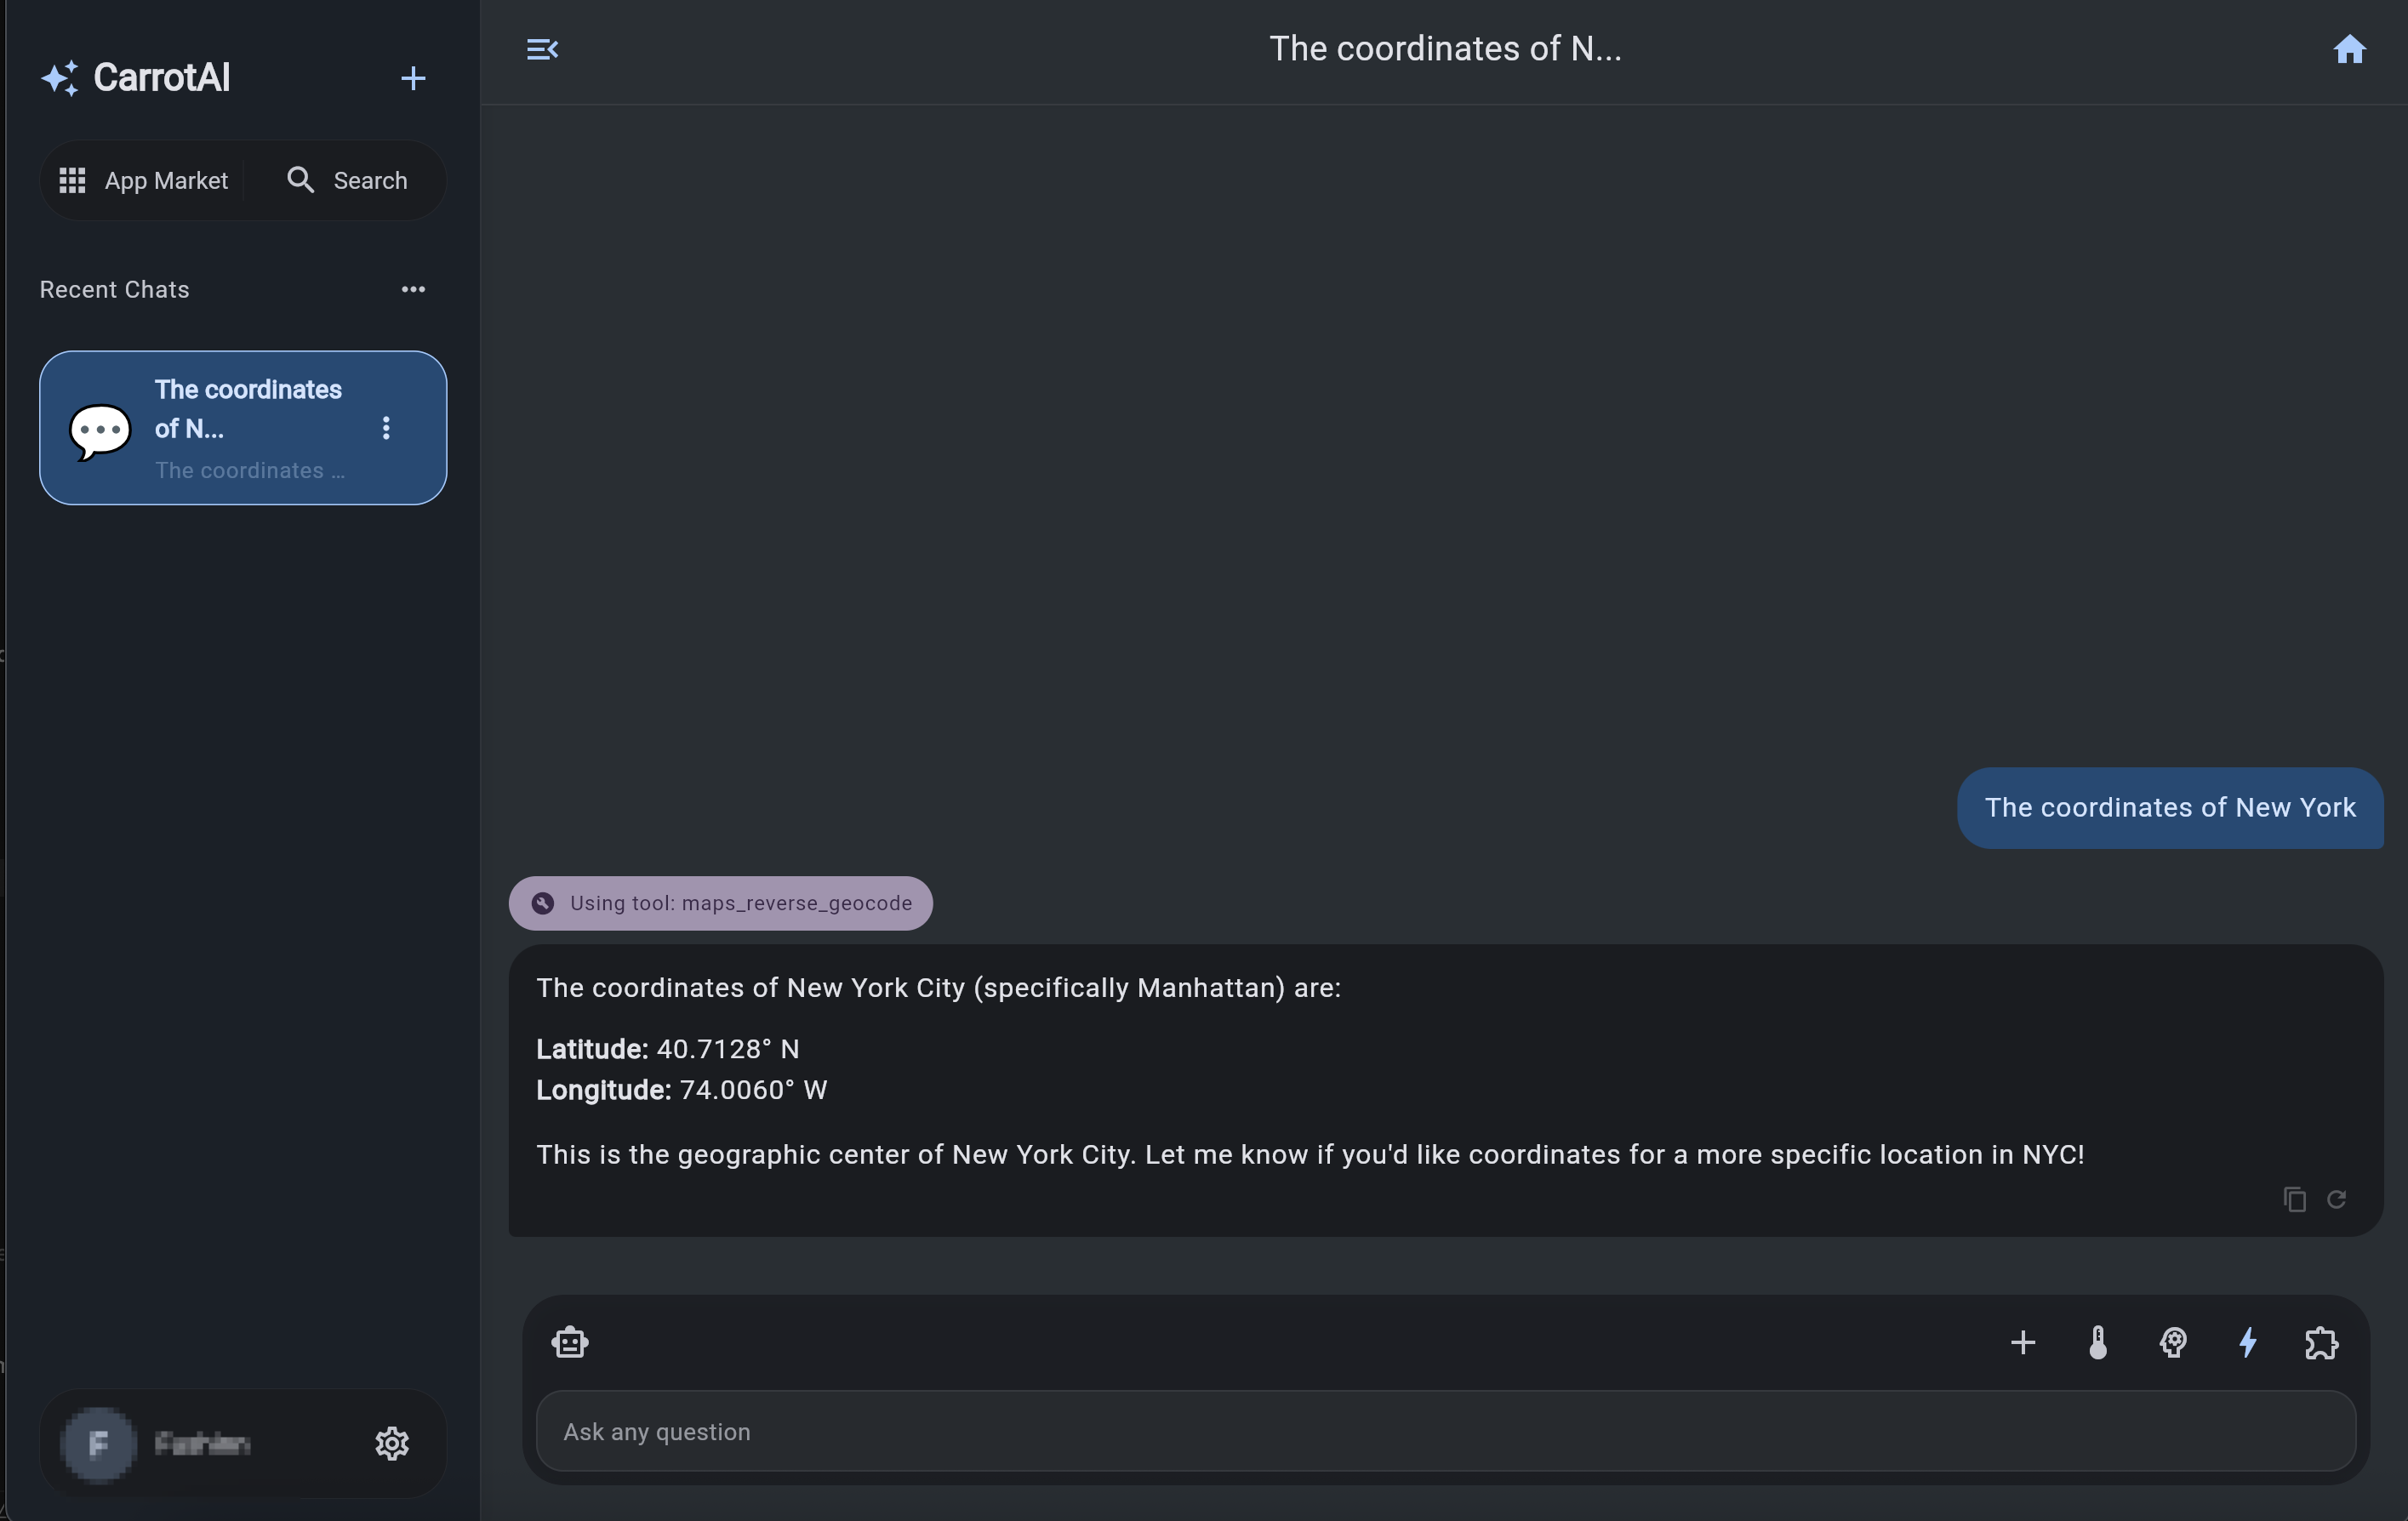
</div>
🤝 Contributing
Contributions are welcome! Please open a Pull Request with your suggestions.
📄 License
This project is licensed under the CarrotAI Open Source License. See the LICENSE file for details.